Screenshots are the best way to convey your messages. Often when you are not able to explain things clearly, the screenshots can help you do that.
A screenshot is a picture captured, to record the visible items displayed on the device. , monitor or other output devices.
Screenshots can be taken on any device, whether it is a mobile, tablet, Windows XP, Windows 7, or any other device.
We will let you know the procedure for Windows 7.
Yes, the article will provide you a complete guide on how to take a screenshot in Microsoft Windows 7.
In this guide, i.e how to take a screenshot on windows, I will let you know a few methods, which will help you to take screenshots in Windows 7.
Let’s check out what these methods are.
Table of Contents
How to Take a Screenshot in Microsoft Windows 7
The guide, how to take screenshots on pc, will provide almost all possible ways to take a screenshot in windows.
After reading the guide, I am sure you won’t have to ask others like how do you take a screenshot on a PC, or how do you screenshot on a pc.
The methods are given below. Let’s head over that.
#Method 1: Taking a Screenshot Using MS paint
This is the first and most common way to take the screenshot in windows. The steps are given below.
Step 1: First of all, open the window or the image, you want to take the screenshot of. Once done, follow the next step.
Step 2: Now Press the “Prt Scr” from the keyboard. The key name may vary from system to system. In some systems, the key may be named as PrtScn,” “PrntScrn, Print Scr, Print Screen SysRq, or something similar to that.
You will find this option between the function keys (F12) and the Scroll lock key.

Step 3: As sooner you press the print screen key, the screen would be captured and will be saved to the clipboard. The captured screen can be paste anywhere you want. It can be MS word, Ms paint, or anything.
We will paste the image in MS paint.
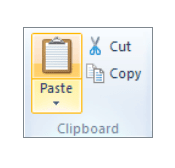
See the above image.
Simply click on the paste button. As soon as you do that, the image you captured would appear on the paint screen.
Simply save the image and use it as per your need.
If you are using the laptop, then you will have to press a key combination of the function key and the print screen. Function key(Fn) and prt screen.
The Fn key you will find at the left bottom of the keyboard.
#Method 2: Taking Screenshots Using The Snipping Tool
This is another good way to take the screenshot in windows 7. The Snipping Tool is available in all versions of Windows.
Including Windows 7, Vista, 7, and Windows 8.
The procedure to use the snipping tool is given below.
Step 1: First of all, open the image or the window, you want to take the screenshot of.
Step 2: Now open the snipping tool on your windows. For Windows 7, go to all programs by going to the start button. In all programs, go to the accessories and then select Snipping Tool from the list.
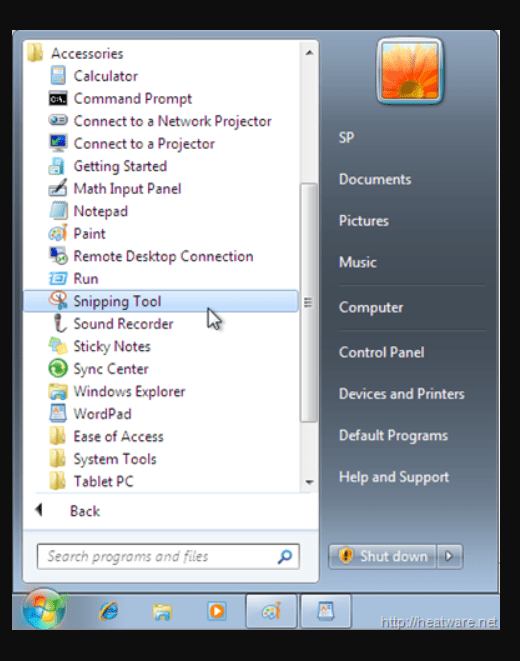
You can also type the Snipping tool in the start screen and select it from the search results.
As sooner you start typing, the search result would start showing the result of similar names. All you will have to do is click on the Snipping Tool.
Step 3: As sooner you click on the snipping tool, a dialogue box will pop. I have mentioned the image below.
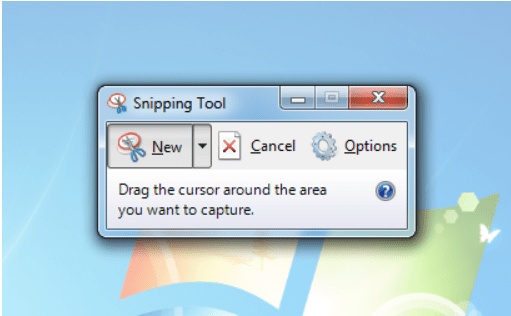
Step 4: When the snipping tool is selected, your cursor would turn into the plus shape icon. Now, drag over the area you want to capture the screenshot of. Once done, click on Save snip. And your image would be saved.
You can choose the shape of the snip by clicking on the New button. Rectangular Snip is chosen by default. But if you want any other, then click new and select any of your choices.
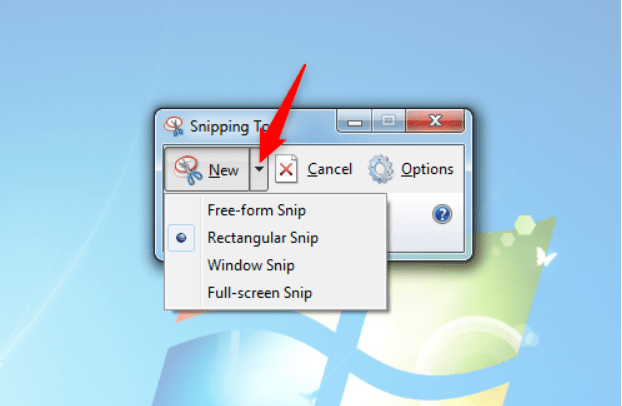
With the help of the snipping tool, you can also highlight any portion of the image you want. For that, you will have to select the highlighter by clicking on the highlighter option.
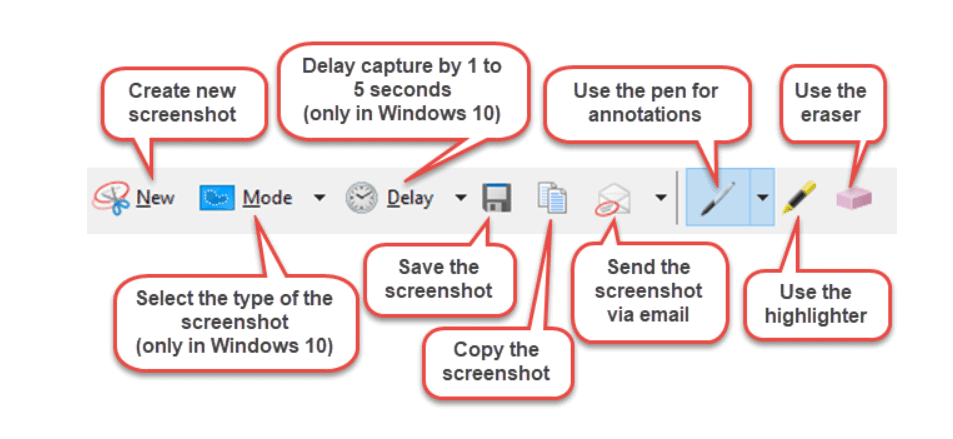
Similarly, you can do various things with this tool. If you have not been using this, do use it. This is one of the best ways to take a screenshot on windows.
#Method 2: Taking Screenshots Using Lightshot
Last but not least. You can also use the software Lightshot for taking the screenshot on windows.
This is available for Mac and for windows. If you don’t know how this works, then read the below-given steps.
Step 1: To get the Lightshot on your system, first of all, go to its official website. If you don’t know the address of the website click here.
Step 2: As sooner you visit the website, you will see a home page of the website like I have mentioned below.
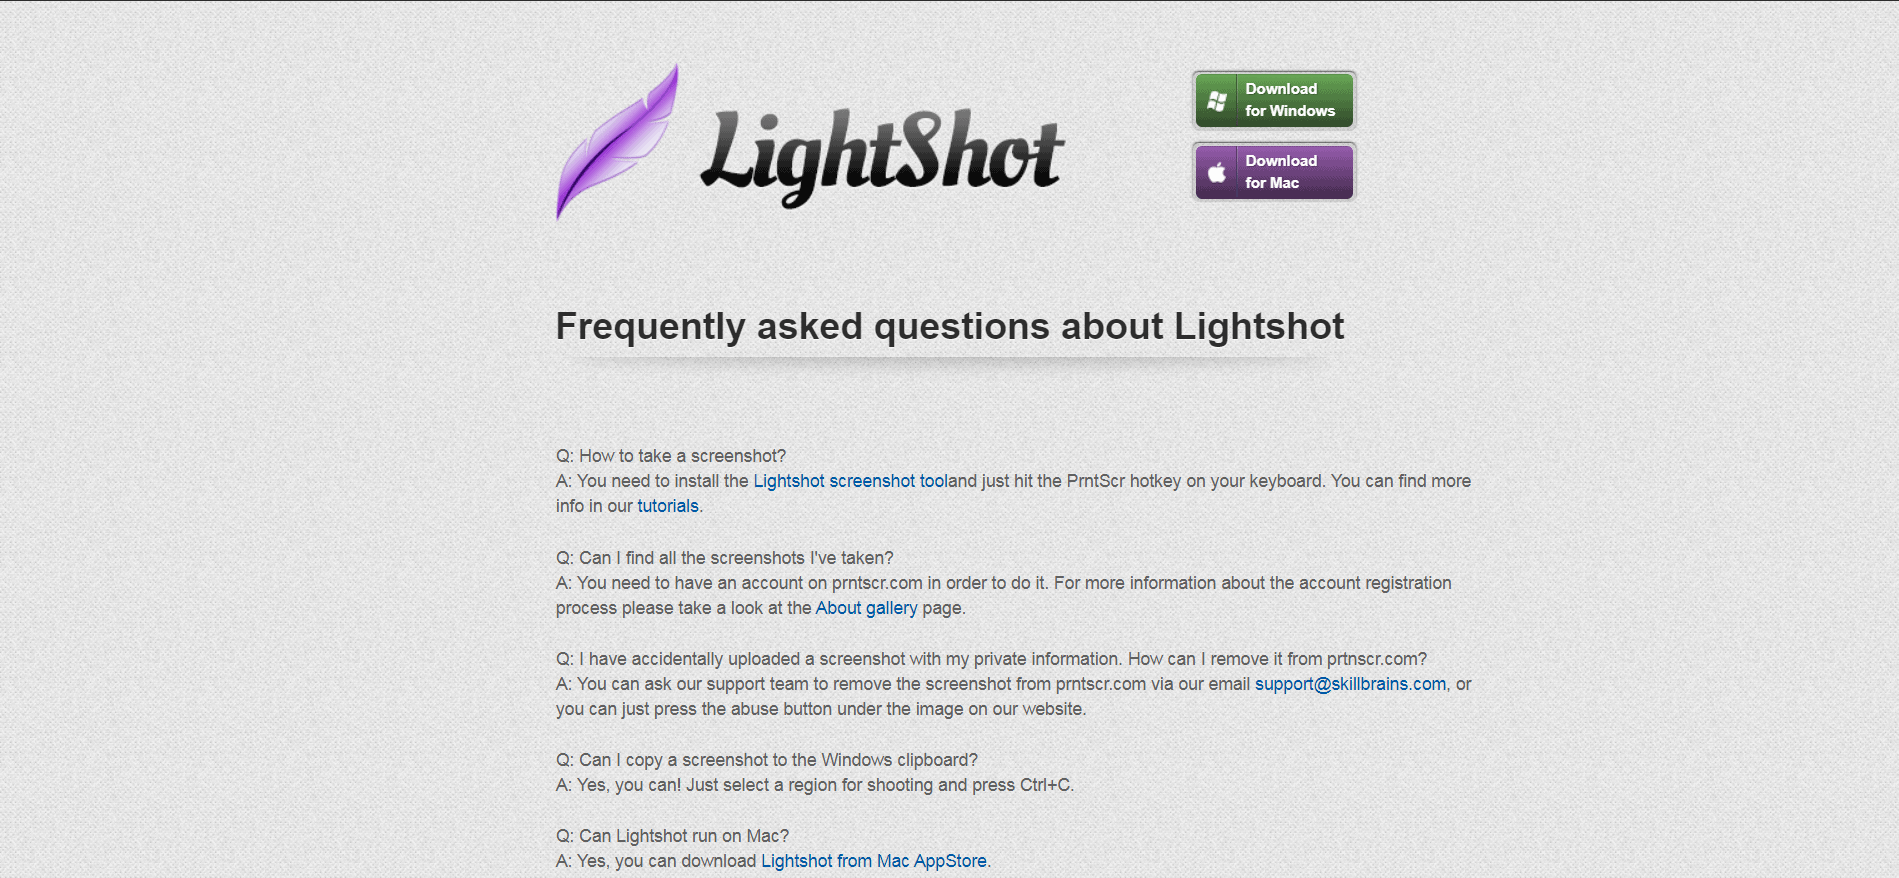
Step 3: Click on the button, Download for Windows. If you are a Mac user then click on the second button, i.e. Download for Mac.
Step 4: After the downloading and installation are completed, you are done. To use this you will have to do nothing but press the Prt Scrn button on the keyboard.
Go to the website or the image you want to take the screenshot of, Once done, simply press the Prt scrn key from the keyboard.
As sooner you press the key, your screen would turn to the selection mode.
And you will see a screen similar to the image mentioned below.
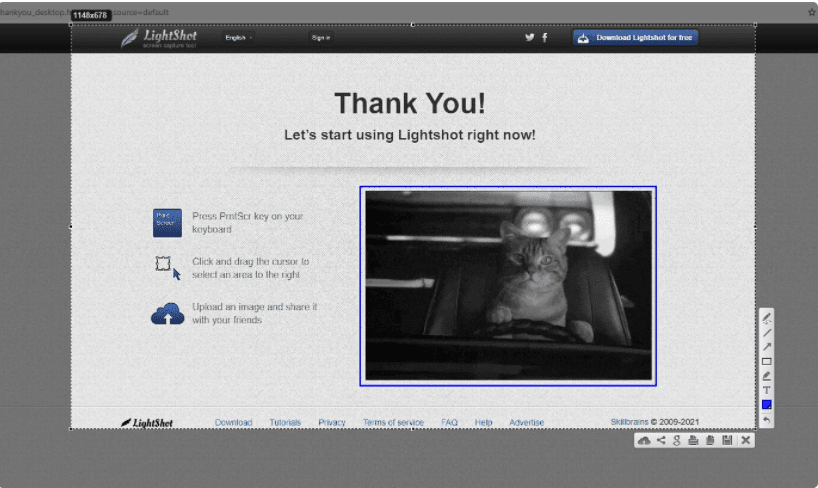
As you can see in the above image, there are some options showing.
These options can be used as per the requirements. For example to highlight the image, select the highlighter, or add the text to the image, select text tool, and so forth.
You will get this tool better after using it. If you have not been using it earlier, then do try it.
I am sure for windows, this is one of the best tools I know so far.
In the article, I have shared multiple methods to take the screenshot.
After reading the guide I am sure you won’t ever question how to take a screenshot on a pc or how to take a screenshot in Microsoft Windows 7.
Do let us know how do you find the guide.
Quick links –


