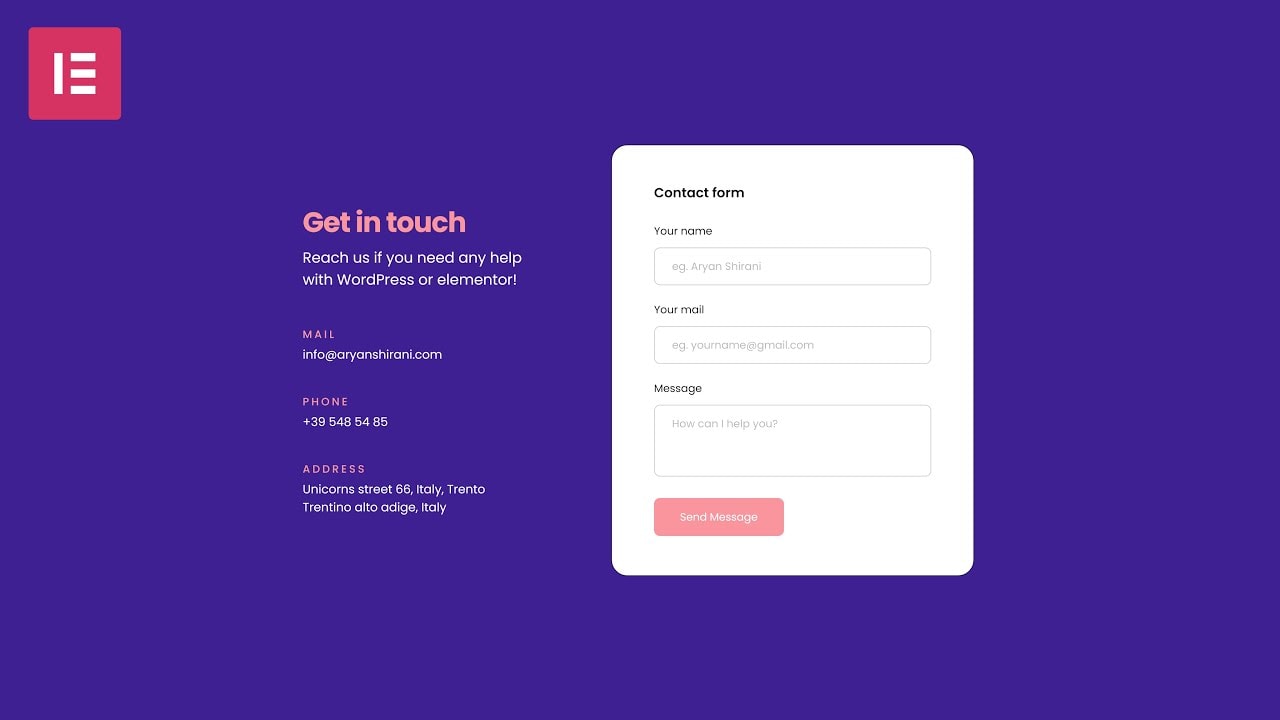
A contact form is required for any type of website.
They can generate leads, connect and build relationships, allow users to notify you of problems with your site, and everything in between.
Creating contact forms in WordPress does not have to be difficult. In fact, the Elementor page builder makes it easier than ever!
In this article, we’ll show you how to create contact forms with Elementor, go over the various options, and go over everything you need to know about contact forms in Elementor.
How Do I Create a Contact Form in Elementor?
This method necessitates the purchase of an Elementor Pro licence. We highly recommend it because you can completely customize the look and feel of the form and it fits perfectly within the website.

This method gives you access to all of the cool Elementor Pro widgets and the massive template library that comes with it.
Furthermore, Elementor Pro allows you to completely redesign your website!
1) Inserting an Elementor Contact Widget on Your Page
First, open the page where you want to use the Elementor Contact Form.
If you’re not sure where to put a contact form, your homepage and about page are great places to start.
2) Configuring Your Contact Form Fields
There are numerous settings for the form widget in Elementor, and we’ll go over each in detail later in the article.
Let’s start with the fundamentals.
Elementor pre-populates your form with the following fields, which are required for any contact form:
– Name – Email (you’ll need this to respond!)
– The Message
3) Adding Elementor Contact Form Fields
Click “Add Item” to add a field to your Elementor form:
The “Label” option comes next. The label is the name of the contact form field that appears above the contact form. It informs users of the expected input, so make it descriptive!
The “Placeholder” option is also available. When a user does not enter any data, the placeholder appears in the form field. Setting the placeholder text as an example of what information you want them to enter is useful.
4) Choosing Where Your Form Submissions Will Go
Click “Email” in the Elementor editor to see the available options:
There are numerous email fields. Everything is pre-filled out of the box, so if you don’t need anything specific, you can skip this and save your page.
Continue reading to learn more about the options for your Elementor contact form settings.
5) Configuring Contact Form Messaging in Elementor
The form editor in Elementor is more powerful than it appears. The ability to modify messaging on a per-form basis is one of the more advanced features.
Instead of sounding like a monotonous robot, modifying form messages allows for a more personalized feedback process to the end-user.
Elementor provides a free contact form.
This method is fairly straightforward. All you need to do is install a third-party contact form plugin that supports shortcode embedding.
When it comes to integrations, Elementor is quite versatile and works well with the majority of contact form WordPress plugins.
Conclusion
You are now aware of dozens of methods for creating an Elementor form or Elementor custom form. You only need the Elementor page builder and the MetForm form builder. Don’t put it off any longer. Begin creating your Elementor Custom contact forms and customize them to your heart’s content. Last but not least, MetForm can be used to create a complete contact page.


