
Have you ever wanted to make a website or a landing page but thought it might be too hard? That’s what I felt before I tried Leadpages.
I’ve been exploring this tool to see how it can make things easier for folks like us who aren’t tech wizards.
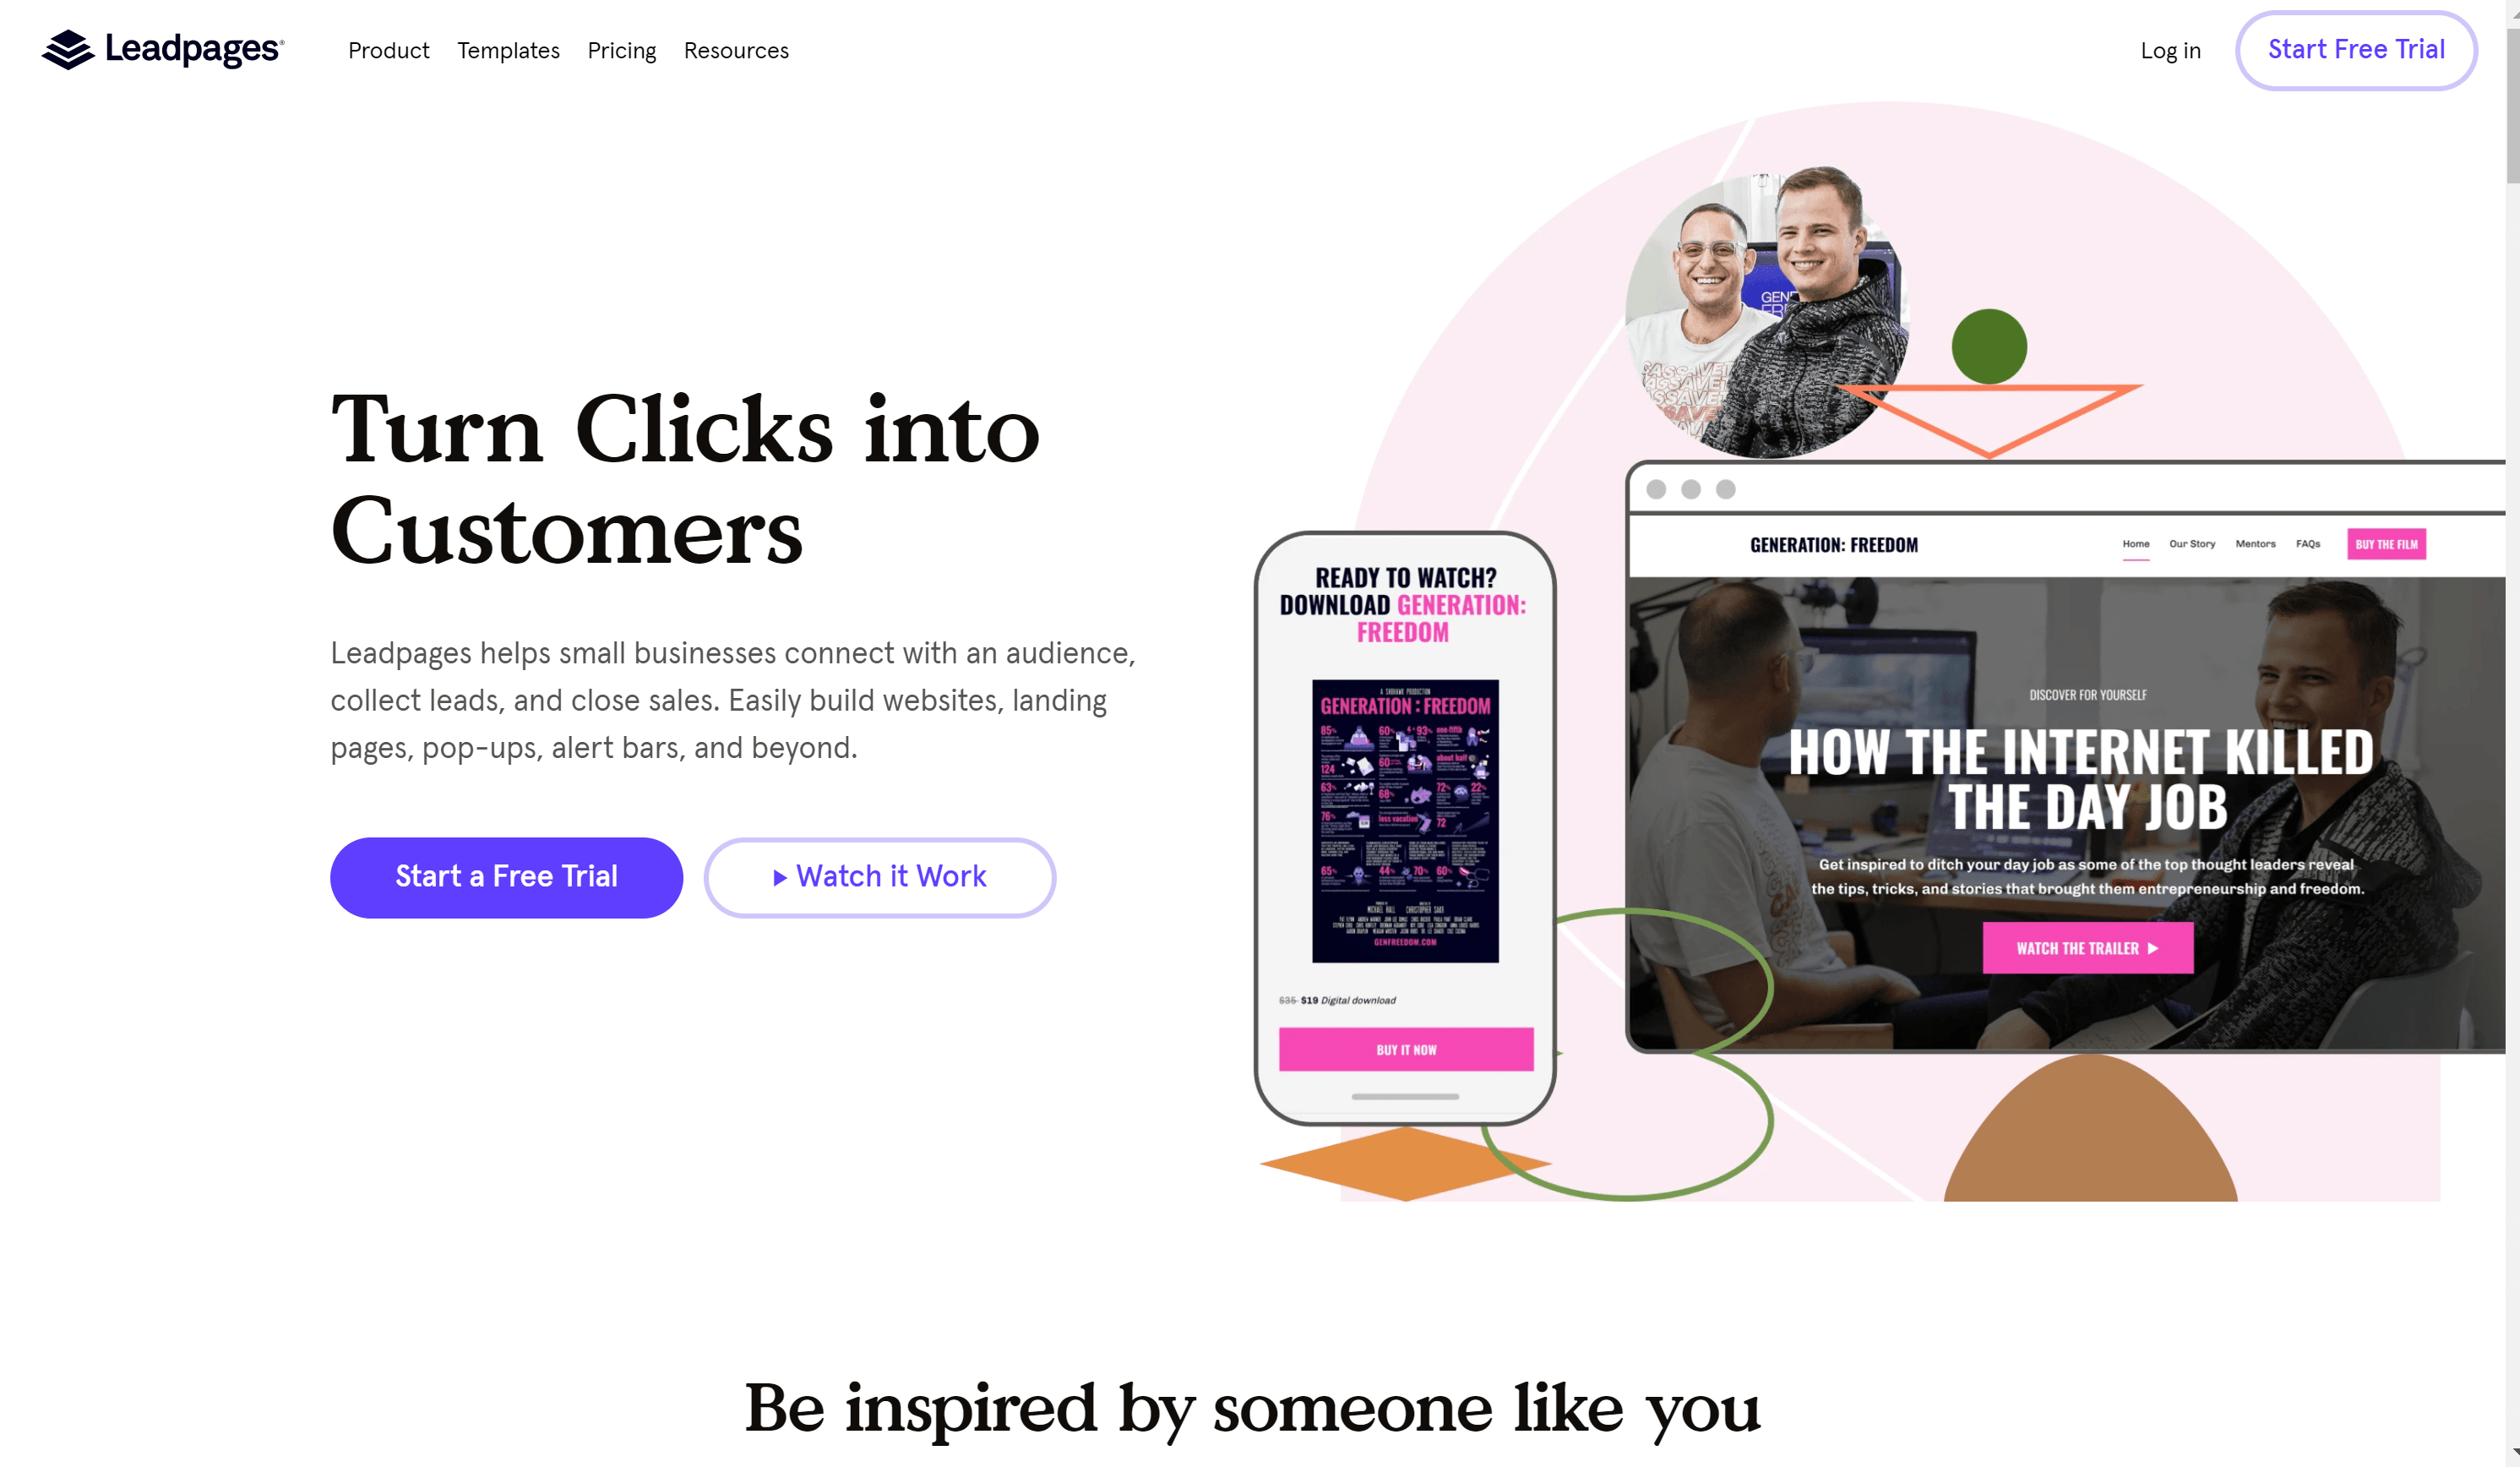
Leadpages is all about helping you create web pages that look awesome and work hard to get your message out there.
Whether you’re starting a small business, promoting an event, or just want a cool page online, I wanted to find out if it’s as user-friendly and effective as they say.
So, I dived in to see how it stacks up, especially for people who might be a bit scared of all the technical stuff.
Here’s my take on Leadpages, aiming to share the scoop in the simplest way possible.
So, let’s jump right in and uncover if Leadpages is worth the hype! 💼🚀
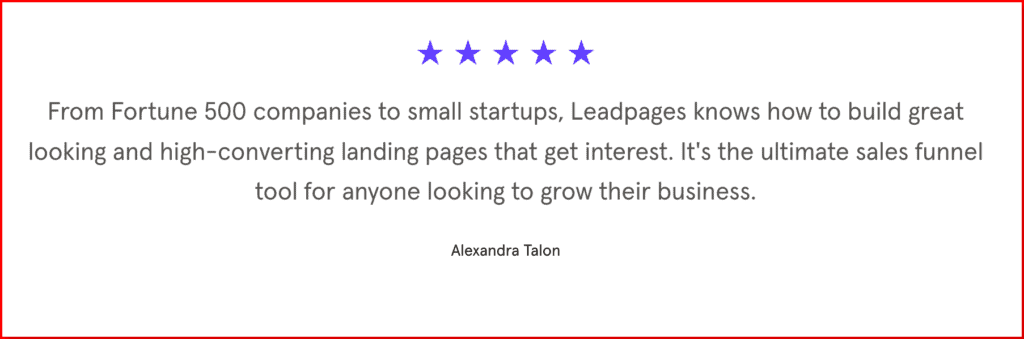
Table of Contents
Leadpages Overview
Leadpages is software that makes it easy to build sales and landing pages without coding experience, saving you time. It’s a private company founded in 2012 by Cray Collins, Tracy Simmons, and Simon Payne, with headquarters in Minneapolis, Minnesota.
Leadpages is a program whose primary goal is to provide the utmost assistance in effortlessly building sales pages and landing pages. In late January 2013, it commenced with the release of a computer program by Leadpages.
It featured around two dozen layouts along with an integrated computer program. It is also compatible with platforms like InfusionSoft and MailChimp.
In September 2013, it secured $5 million from the Foundry Group and Arthur Ventures. The company introduced several updates in January 2014, October 2014, and March 2015.
In 2015, Leadpages unveiled a drag-and-drop landing page builder, which garnered additional funding of $27 million from the Foundry Group, Drive Capital, and Arthur Ventures. In October 2015, Leadpages held a promotional conference for small businesses.
The company’s collaboration with Facebook was announced in November 2017, introducing a Facebook ad builder. To date, there are more than 45,000 active users of the platform.
Leadpages Pricing: How Much Does It Cost?
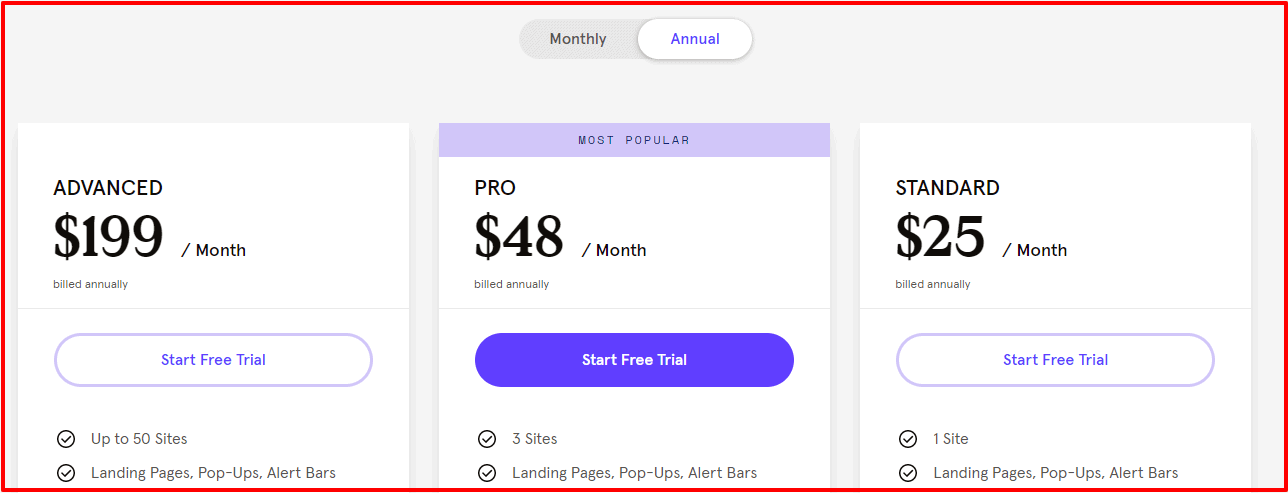
Some very efficient pricing policies have been implemented by Leadpages. Customers can pay on a monthly or annual basis. The detailed pricing with all the subscription plans is listed below.
| Standard | Pro | Advanced | |
| Monthly | $37/mo | $79/mo | $321/mo |
| Annually | $25/mo | $48/mo | $199/mo |
| 2-year | $17/mo | $42/mo | $159/mo |
Monthly
- Standard subscription- Those who opt for the standard subscription must pay no less than $37 per month. The price is moderate and affordable in return for the services. For the standard subscription, you get to make 1 site, a free hosting facility, landing pages, Pop-ups, unlimited traffic, and a little more.
- Pro Subscription- To render the services of the Leadpage’s pro version, one has to pay $79 per month. This version has its own perks and provides a wide range of services. Herewith, with a pro subscription, you grab standard benefits along with 3 sites, online payment and sales, and email trigger links.
- Advanced Subscription- Ultimately, all the features of the lead page can be experienced in the advanced version for just $321 per month. You can experience all the services and features reasonably in a month.
Yearly
- Standard Subscription – It comes with all the standard features Leadpages offers at $25 monthly. If you are a little doubtful yet determined to try a website builder, this is the best price you can go for.
- Pro Subscription – This is the most popular subscription among Leadpage’s clients. It empties only $48 monthly from your pockets, and you basically wrench out the best for your business.
- Advanced Subscription – To reap the best long-term benefits, you can choose the advanced subscription at $199 per month. In the long run, the money invested is completely extracted through business profits.
Paid yearly, Leadpages Standard costs $37 per month.
- Unlimited Pages, Traffic, & Leads
- Unlimited Pop-ups
- Unlimited Alert Bars
- Free Hosting
- Connect 1 Domain
- 200+ Free Templates(Mobile-Responsive)
- 40+ Standard Integrations
- Facebook & Instagram AdBuilder
- Tech Support (via Email)
- Weekly Group Coaching
Leadpages Pro ($79/mo, paid yearly)
- All Standard Features
- Online Sales and Payments
- Unlimited A/B Split Testing
- Email Trigger Links
- 10 Opt-in Text Campaigns
- Special Discounts with partner companies
Leadpages Advanced ($321/mo, paid yearly)
- All Standard and Pro features
- Advanced Integrations
- 5 Free Sub Accounts
- 50 Extra Opt-in TextCampaigns
- 1-on-1 Quick Start Call
- Leadpages Virtual Workshops
LeadPages Free Trial (Start with a 14-day free trial)
Free trials are the thing we all love! You can check things out and see if you want to pay for it every month. With LeadPages, this option is offered for 14 days, after which you will be charged on a monthly or yearly basis.
So, the first order of business after reading this article is to at least check out the free trial so you can see how much you are missing out on by not being a part of this fantastic new platform!
How To Create A Landing Page With Leadpages
Get started below!
Choose a template
You’ll need to start with a template to get going. Here’s how to choose a plan and start building:
- Navigate to Landing Pages in the navigation menu and click the “Create New Landing Page” button in the top-right corner.
- Filter by page type, industry, style, color, or browse the entire collection.
- Click on “Start Building” to begin or “Preview” to review your options. After selecting a template, give your project a name.
- Once you have chosen a template, name your page, then click Continue.
Edit your page content.
Each template comes with pre-designed sections containing ready-to-use widgets. You can customize your page by editing, reordering, deleting, or adding new content.
With their builder, you don’t have to worry about losing your progress. Your modifications are automatically saved in real-time.
In case of any errors, there’s a variety of undo options available. Moreover, if you already possess a Leadpages site, landing page, or pop-up, you can effortlessly copy and paste sections onto your new landing page.
Additionally, utilizing section templates allows you to seamlessly integrate a new section into a page without creating it from scratch.
Edit widgets
Click on any widget to access its settings and edit its content. Note that many widgets, including buttons, can contain text.
Each widget also provides various customization and styling options.
Other customization options
Each template is divided into various parts, columns, and rows that you can change to customize your page further.
Leadpages Drag And Drop Builder.
I’d like to provide a structured overview of the Leadpages drag-and-drop builder from my perspective:
- Introduction to Leadpages Editor: When you dive into the Leadpages editor, it feels familiar, especially if you’ve used a WordPress page builder before.
- User Interface:
- On the right side of the screen, you’re greeted with a live preview of your page.
- Meanwhile, the left sidebar is your hub for accessing various tools and features.
- Widgets:
- Widgets are the fundamental building blocks of your page.
- These widgets allow you to add elements like opt-in forms or buttons to your page effortlessly.
- Page Layout:
- The Page Layout tab is where you create the foundational grid layout of your page using rows and columns.
- Page Styles:
- Within the Page Styles tab, you have the power to customize fonts, background images, and more to match your branding and design preferences.
- Page Tracking:
- The Page Tracking section enables you to configure basic SEO settings, such as meta titles.
- It also facilitates the integration of tracking and analytics codes, such as Facebook Pixel and Google Analytics.
- Widget-Specific Settings:
- Each widget you use comes with its unique settings that you can access and configure.
- User-Friendly Interface:
- While not as free-form as the Instapage builder, the Leadpages editor is notably flexible.
- For instance, relocating an element is as simple as dragging it to a new location.
- You can also use drag and drop to adjust column widths with ease.
- No Coding Required:
- An important feature of the Leadpages editor is that it’s entirely code-free.
- Even if you have zero coding experience, you can create visually appealing and effective landing pages effortlessly.
In summary, the Leadpages drag-and-drop builder offers a user-friendly interface with essential tools for designing and customizing your web pages. It’s a great choice, particularly if you want to create professional landing pages without the need for coding skills.
Set up a Form
To gather opt-ins on your page, it’s essential to have at least one form widget. Typically, templates come with a default opt-in form, often found within an on-page pop-up. Here’s a guide on locating and customizing your page’s form:
Form settings
Step 1: Search for a call to action, typically represented by a button. Note that numerous templates feature multiple calls to action.
Step 2: Hover over the call to action and select Edit Pop-Up (or click the call to action and then the link icon).
Step 3: After opening the pop-up, hover over the form and choose Edit Integrations (or click any part of the form to access its settings).
Step 4: Navigate through the three tabs: INTEGRATIONS, FIELDS, and ACTIONS, to modify your form’s settings. Once you’re done, click Save & Close.

Attaching a lead magnet
You can encourage visitors to subscribe to your page by providing a lead magnet.
Thank You Page settings
As a standard procedure, individuals who complete a form on your landing page will be redirected to a standard thank you page. I suggest crafting a personalized thank you page to enhance the experience for those interacting with your opt-in page.
Publish your page
Click the Preview button before publishing your page to see it in action—you can even check that it looks okay on mobile devices.

When you’re done, Click Publish to make it public! Each page you publish will have its URL in your Leadpages Domain (hosted by us). The simplest way to distribute your page is to use that URL, but you can also publish it to your own server or WordPress site.
Test your page
I usually recommend running a test before publishing your page to the public. Check out the video below that shows you how to test your page properly.
Create a Campaign or Funnel
Publish Leadpages Content On A WordPress Website
Are you ready to embark on a journey of seamless landing page creation, publication, and optimization within your WordPress domain? Allow us to guide you through the enchanting world of Leadpages integration with your WordPress site. 🌟✨
- Normal Pages:
- Craft unlimited normal pages, each with a unique URL slug for precision targeting.
- Share your offerings effortlessly through social media, ads, or email campaigns.
- Unlock the potential of layered URLs, like a hidden treasure map leading to your desired destination.
- Homepage:
- Transform your site’s default homepage with a captivating landing page of your choice.
- Make a memorable first impression for every visitor entering your magical realm.
- Welcome Gate:
- Enchant first-time visitors with a captivating Welcome Gate, ensuring a magical introduction to your site.
- Harness the power of customizable URLs to guide even returning guests toward new enchantments.
- 404 Page:
- Transform errors into opportunities by creating a captivating 404 page.
- Turn disgruntled wanderers into eager explorers with enticing offers.
The Publishing Ritual Prepare to unveil your crafted wonders to the world with these simple steps:
- Click on the mystical path of Leadpages › Add New within your WordPress Dashboard.
- Choose the type of page that resonates with your purpose and select your crafted landing page.
- Dive into the depths of customization, selecting a URL slug and deciding whether to wield the magic of caching.
- With a triumphant click, summon your creation to life by hitting Publish.
Crafting Updates with Ease Witness the seamless dance of updates as your landing pages evolve:
- The magic lies within Leadpages itself – any changes you make will ripple across your WordPress site in real time.
- Beware the cloaks of caching and security plugins, for they may introduce slight delays to the dance. If such shadows appear, seek to dispel them by deactivating potential culprits.
Taming the Status Quo Master the art of page statuses and wield them to your advantage:
- Navigate to the portal of Leadpages within your WordPress Dashboard.
- Elegantly toggle the checkboxes next to the pages you wish to grace with updates.
- Perform an elegant dance with the Bulk Actions menu, selecting “Edit” and commanding the changes.
- Unleash the power to alter the status of selected pages, thus molding the experience for your audience.
A Farewell to Pages When the time comes to part ways, tread the path of deletion with grace:
- Venture to the Leadpages sanctuary within your WordPress dashboard.
- Select the pages destined for the realm of the forgotten.
- Through the grace of the “Bulk Actions” dropdown, move them to the nurturing embrace of the Trash.
- For ultimate closure, journey to the Trash tab, where you can choose to permanently erase or free them.
Now, armed with this wisdom, you’re poised to navigate the intricate world of landing page management within WordPress like a true sorcerer! 🧙♂️🔮
Building an Entire Site with Leadpages
When I first began reviewing Leadpages, it was primarily used for creating landing pages. These are the pages you see when you click on an ad or a link.
However, early in 2019, Leadpages did something remarkable. They made it possible to create entire websites with the same tool, not just landing pages. This was comparable to how Squarespace and Wix allow users to create websites.
Similar to what I had done with landing pages, but with additional options. I managed aspects of the entire website, such as the menus that facilitate navigation.
To get started, I could choose from the available website templates. It was similar to commencing with a basic design and then customizing it by altering elements such as colors and images.
The best aspect was that I could still use all the cool features Leadpages had for making websites work better. It was as if I had an arsenal of potent tools to create websites people would enjoy visiting and utilizing.
What Do Leadpages Do? A Quick Look At The Detailed Feature

1. Online Presence:
It is essential to have an online presence in 2020, especially during the stay-at-home culture trend. Regardless of your business, it’s necessary to establish an appealing web presence to attract attention and expand your client base.
With Leadpages, you don’t have to spend days searching for web designers to create attractive landing pages and websites.
Leadpages allow easy creation of landing pages and websites to attract and convert potential leads. Its interface is user-friendly, even for beginners.
It is a code-free stage that has recently been overhauled to an available drag-and-drop builder, which relieves you of a large part of the manual work. You’ll publish web pages that see proficiency and luring.
2. Quality Leads:
Leadpages is designed to be conversion-optimized, ensuring that all content is optimized to convert traffic to leads and clients on landing pages.

Leadpages incorporates pop-ups, alert bars, and AB testing into all the pages you create using their platform.
Currently, you can grow your email subscriber list by promoting opt-ins such as e-books or newsletters and ensuring automated content delivery.
Custom landing pages ensure your product reaches interested individuals, allowing you to cater to focused groups and their needs.
3. Optimized Development:
With Leadpages’ 2019 upgrade, it is fair and simple to build a website with Leadpage.
By paying for a premium plan, you gain access to a world of modern design freedom. Of course, you can always choose to start with a free option.

It offers options for integrating email marketing into your page. You can even incorporate the Leadpages hosted landing page under your domain name. With these tools and the ability to track your page’s performance in real time through efficient split testing, your business will experience rapid growth.
5. Leadpages Split Testing Reporting Tools
To achieve a better conversion rate, Leadpages allows you to conduct unlimited split tests on your pages, enabling you to fine-tune them for optimal performance.
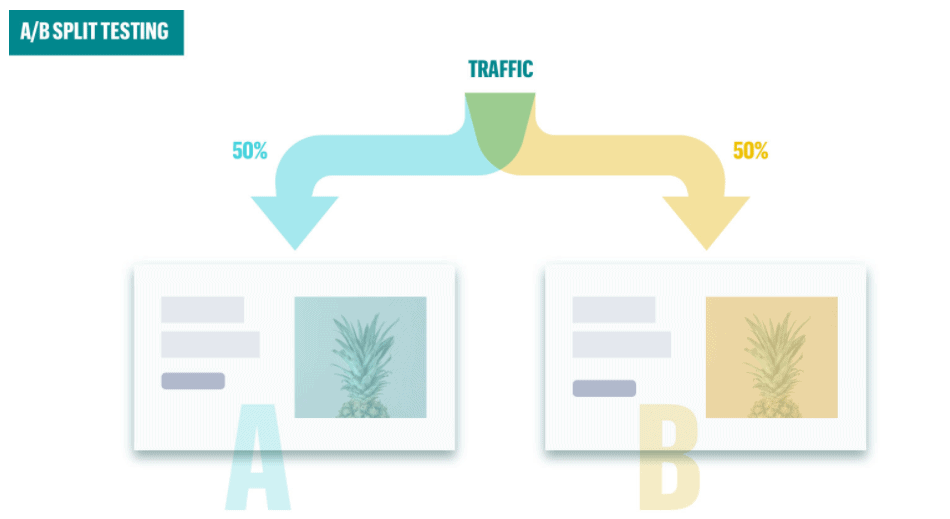
If you’re unsure about the best placement for a call-to-action box to maximize efficiency, you can run split tests on your pages to compare them with other designs on your site.
This helps predict conversion rates, performance, and optimization levels. Pretty cool, right? Any uncertainties about minor details like layout or font can be resolved by conducting an A/B test whenever you wish.
6. Pop-Ups
Chances are, you’ve come across a Leadpages pop-up (Leadbox) before. They’re everywhere. Leadboxes are clean and professional-looking pop-ups that assist you in quickly gathering more leads.
With Leadpages, crafting a high-converting Leadbox takes just a few minutes, and it comes with automated settings to trigger it when your visitor’s interest is at its peak.
Yes, when a visitor expresses interest in your landing page, you can offer them an irresistible offer. Leadpages provides a user-friendly drag-and-drop editor for creating Leadboxes in mere minutes. Moreover, you can seamlessly integrate your email service provider so that new subscribers are promptly added to your preferred email list upon signing up.
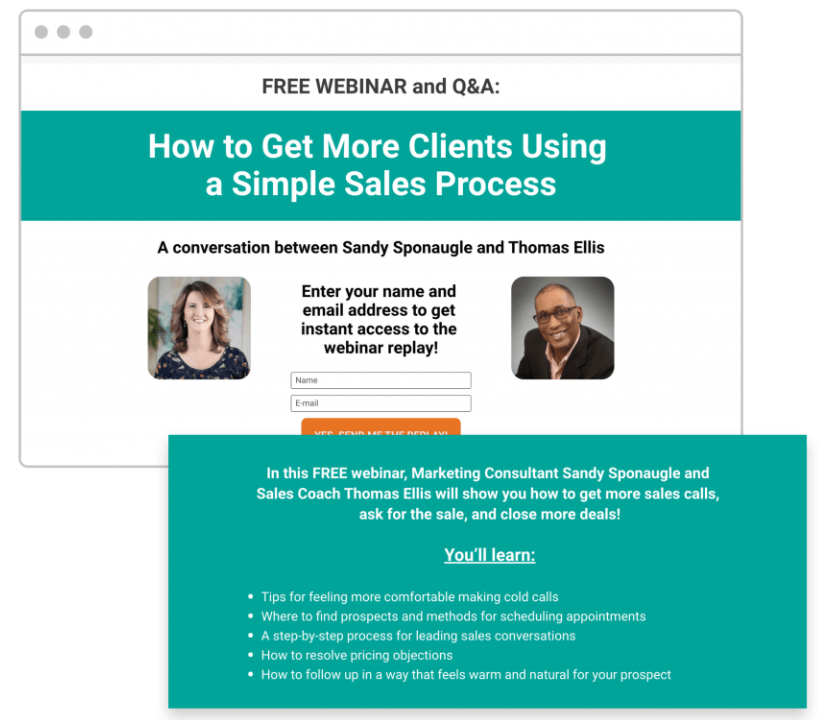
7. Leadlinks
Leadlinks, also referred to as “email trigger links,” are a nifty feature that simplifies signing up for promotions, such as webinars, with just a single click.
Let’s say you’re offering a webinar, “Mastering the Art of Crafting Caviar Tacos.” Typically, you’d send out an email to your entire email list containing a signup button, which, when clicked, would direct the reader to a dedicated landing page for that webinar (probably created with Leadpages).
To register for the webinar, they’d need to click the link and provide additional personal information on the landing page. Not anymore…
With Leadlinks, either you or one of your affiliates includes the link directly in the email. When the prospect clicks on it, they’re instantly registered. No further steps are necessary. A simple click on the link automatically completes their registration.
8. Create Conversion Tools
You can use the page builder to construct landing pages, but Leadpages also allows you to develop tools the company refers to as conversion tools.
These components, such as pop-ups, alert bars, opt-in messages, and trigger links, can be added to your website to generate leads or elicit a certain action from visitors.
Leadpages is a powerful email opt-in form builder because these conversion techniques can be integrated into your existing WordPress website.
9. Mobile Preview
Every website owner must ensure their pages can be viewed on mobile devices. If you don’t fix this, visitors who use mobile devices won’t have the best time reading.
LeadPages lets you see a preview of any page you make on a mobile screen, but it can’t change your page as you look at it. You can’t, for example, change the layout and widgets on the mobile version but not on the PC version.
This is a problem for people who run websites with many mobile visitors. How can you make the best user experience if you can’t change the mobile version?
10. Unlock the Magic of the LEADMETER Optimization Tool! 🌟🔍
Thanks to their cutting-edge Leadmeter technology, you can effortlessly assess your page’s content and receive instant insights into its conversion potential.
Whether you’re building a new page from scratch or optimizing one that already exists, the Leadmeter will quickly break down all of the critical elements that could be affecting its conversion rate, including:
- Page layout and content
- Call to Action (CTA)
- Lead collection methods
11. Leadpages Integration Options
The wonders you create with Leadpages, such as captivating landing pages, alluring sites, and conversion-boosting tools, can easily integrate with over 40 different services and tools. Discover various integration options on the Leadpages website, organized into enchanting categories such as Analytics.
- Analytics: Unleash the power of insights with stalwarts like Google Analytics.
- CRM: Forge connections with titans like Salesforce, enhancing your customer relations journey.
- Digital Advertising: Dance among the stars with integration gems like Facebook and Google Ads.
- E-commerce: Embark on a merchant’s quest with the likes of Shopify, unlocking realms of online commerce.
- Email Marketing: Harness the winds of communication with renowned allies like AWeber.
- Live Chat: Engage in real-time conversations with the mystical powers of Drift.
- Marketing Automation: Enter a realm of seamless orchestration alongside HubSpot’s guiding hand.
- Payments: Unlock treasures with PayPal, paving pathways for effortless transactions.
- Scheduling: Tame the flow of time with allies such as Calendly, ensuring harmonious engagements.
- Social Media: Join the dance of visibility with the magic of Facebook integration.
- Video: Embark on visual journeys with YouTube, sharing captivating stories.
- Webinar: Unveil wisdom to eager audiences with the power of GoToWebinar.
- Website: Align your forces with WordPress, weaving your creations into the very fabric of the web.
- Miscellaneous: Explore the enigmatic realm of other integrations, where surprises await.
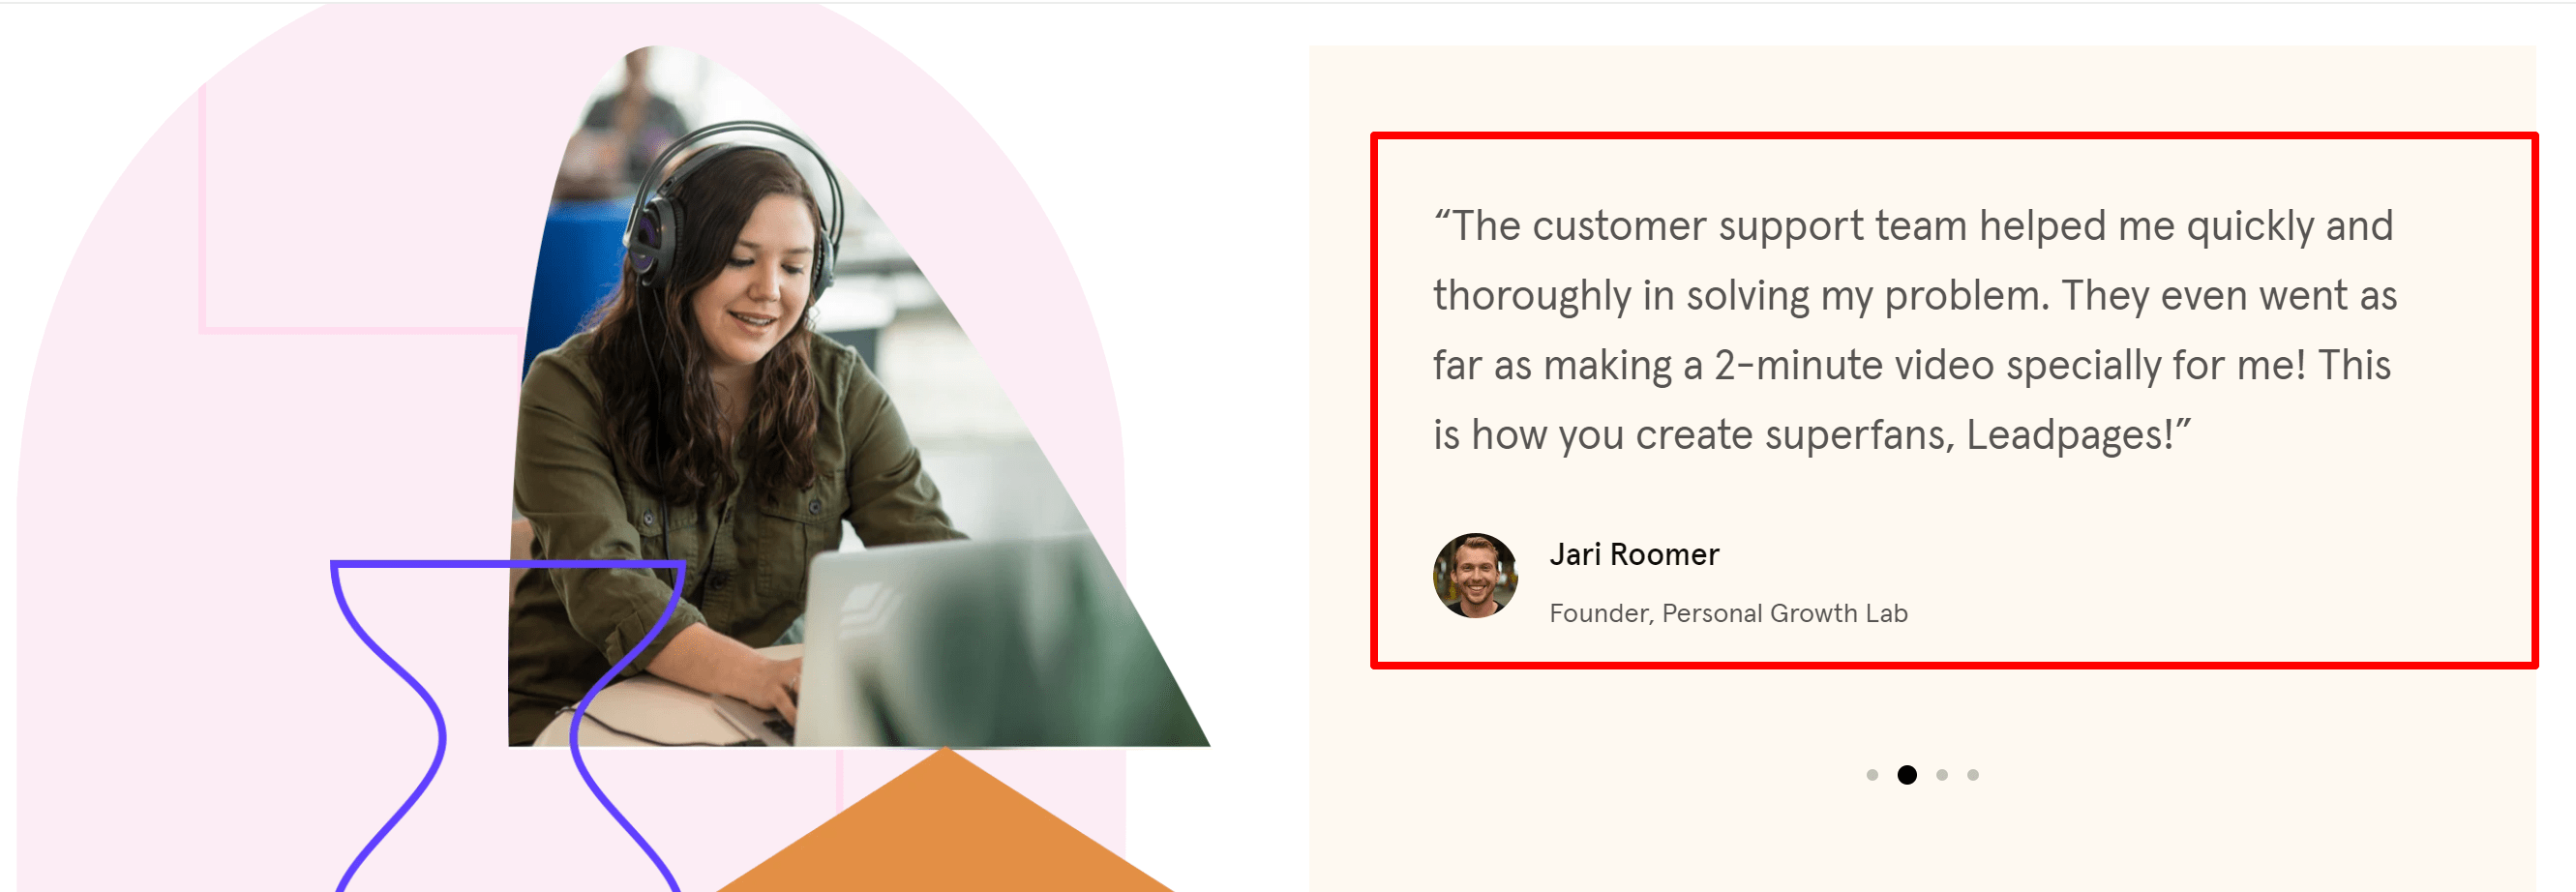
LeadPages Customer Testimonials: LeadPages Reviews By Users
Leadpages Pros & Cons:
Pros-
- For new joiners, the drag-and-drop option is a user-friendly editor.
- The new alert bar lets you attach “notification” style formats and CTAs to your site.
- You get around 200+ free templates that are gorgeously designed, I assure you! But the good part is you get more templates if you pay for them.
- Oh, another part that has recently been installed provides you with the ingredients to develop your conversion-optimized web pages in just a matter of a few clicks!
- The fun part is creating A/B tests.
- There’s added functionality.
- The whole system of built-in analytics.
- A fantastic cluster of widgets.
Cons-
- Most features are not included in the affordable tier.
- As you must have heard, the only drawback here is that the price makes people’s eyes widen, especially casual users.
Leadpages User Reviews:


LeadPages Customer Reviews on Facebook:
LeadPages Customer Reviews on Twitter
What if we told you that you can transform your site SEO with 10 simple steps? Good news is, you absolutely can. 🌟
Sign up for our #SEO checklist & learn how to weed out what’s working (and what’s not) with our top 10 essential #SEOtips. ⬇ https://t.co/tItVokR3GP
— Leadpages® (@Leadpages) April 15, 2021
LeadPages Customer Reviews on LinkedIn
LeadPages Customer Reviews on Youtube
FAQs Related To Leadpages Reviews
✅ How Much Does LeadPages Cost?
LeadPages offers a free trial but not the free version. Their lowest plan starts at $25/month.
🎉 Do I need Leadpages?
You should use LeadPages if you have a medium business and want to grow your email list faster and convert leads into customers. Also, it will save the time you spend building pages with coding.
💼 When Should I Start Using Leadpages with my Business?
Leadpages Destinations make it speedy and simple to urge online and with their landing pages and conversion apparatuses, developing your commerce is straightforward and direct.
What's your number one tip for creating effective lead magnets?
We've done a lot of tests and found that a simple one-page list of tools was the best lead magnet we've ever given away. It was just a nice PDF with a list of some marketing tools they used. It got more people to sign up than a free video course, ebook, and an hour-long coaching call.
👉 What is the purpose of Leadpage?
Leadpages can be considered the water to a growing plant. Just like the water that helps the plant with its growth and maturation of the flowers, Leadpages provides the methods for you to grow your business with various things like collecting leads, connecting with the audience, etc. Other than this, it also supplies easy-to-build websites, pop-ups, landing pages, alert bars, and beyond.
💥 What do I get with my Free Trial?
You get access to all the tools that are associated with the Leadpages plan that will lead you to successful business development. That incorporates boundless distributing and boundless activity and leads—so go full-speed ahead for your free 14 days!
Leadpages Review Verdict 2024 | Is This Landing Page Builder Worth It?
My experience with Leadpages has been positive. The user-friendly interface and diverse templates allowed me to create customized landing pages effortlessly.
Integration with marketing tools enhanced lead generation, while analytics provided insights for optimization. Despite minor glitches, responsive customer support resolved issues promptly.
Leadpages prove valuable for boosting online marketing efforts.


If you’re ever wanting more control over your customers, Leadpages landing pages are the best tool for you. I found it to be incredibly easy to use and the customer service was even better! Plus they offer a free 14 day trial which is crazy because not many website services do that…so in 14 days an individual gets to know that it is handy for them or not and then decides whether to continue with this further !
If i have to pen down about Some benefits then i will say that You can add text and images to create a fully customized landing page that captures customers’ attention, converts more sales than ever before, and helps you defeat competitors with superior conversion rates….and this is what anyone wants who is running any page .
As an old user of Leadpages i will say that it makes a whole lot of things easy for you. It’s a one-stop shop for your email marketing, landing pages, and more. There are few issues that you might have with the service that the helpful staff can’t handle in moments over the phone.
The people behind Leadpages will answer any question with just a call away!
I enrolled in Leadpages a while ago and I am really glad that I did! The tutorials helped me get up to speed on the platform, and they have been super responsive for any questions I’ve had. Having customer support available by phone is really reassuring – it’s not something you get from many companies these days….it is so helpful for me !
If you listen to my words then i will say that Leadpages use the perfect software for the modern marketer and business owner. Have you ever wanted to send Automatic Updates to your email list about your New Service, updates about services you offer, occasional freebies? Save time by managing all of it with Leadpages…as it is super easy to use as well as save the time of an individual.