Modern web hosting usually comes with a control panel called “cPanel” which is used to manage the server where your website is hosted. In this article, we will walk you through the process of creating a new database and user for MySQL using cPanel’s Databases section.
The MySQL database has become the most powerful, open-source relational database system available. It is developed and maintained by Oracle Corporation. This blog post will describe how to create a new MySQL database in cPanel, then how to create a user for that database.
You can learn more about this at your own pace by following these steps:
1) Log in to cPanel;

2) Click on “Databases”;
3) Scroll down to “Create Database” and click on it;
4) Fill out the form with desired information (name of the new database);
5) Create a User for this Database (optional). Choose an account type (“Regular”, “Superuser”, or “Replication”) and fill out any
other required fields.
Table of Contents
What is MySQL Database?

MySQL is a popular open source database management system. It’s written in C and C++. MySQL was first released on the web in 1995 as a free, open source database engine for use by computer programmers developing simple databases. Today it supports more complex types of data including relational data, spatial data and temporal (or time-series) data.
MySQL can be used to store data for many different types of software systems, including content management systems, web applications, customer relationship management (CRM), enterprise resource planning (ERP), database marketing, desktop applications and much more. With four simple commands you can create databases, tables, views and indexes in MySQL.
MySQL is supported on most Unix platforms, including Linux and Mac OS X. It’s also supported on the Windows platform via the free MySQL for Windows software download. There are two versions of MySQL available: MySQL Community Server and the commercial MySQL Enterprise Server. The latest version of MySQL is Version 5, released in December 2008. Version 6 is also currently under development.
What is cPanel?

The cPanel web-based control panel for cPanel servers is a popular high performance web hosting automation tool with a graphical interface used to simplify the process of hosting HTML files on a remote server.
cPanel Hosting, available from many sources, is one of the most common means by which websites are hosted.
In order to use cPanel with your hosting account, you must have a hosting control panel or a control panel interface already set up on the server.
The simplest way to do this is to go with a service that charges one flat rate for unlimited space and bandwidth – these usually come with cPanel built in as part of the package deal.
If you are looking for a cost effective way of providing your hosting account, cPanel can be easily installed on an existing Linux server. Please note that the installation process is different depending on whether you have a dedicated or Virtual Private Server (VPS).
How to Create Database and Database user for MySQL in cPanel-
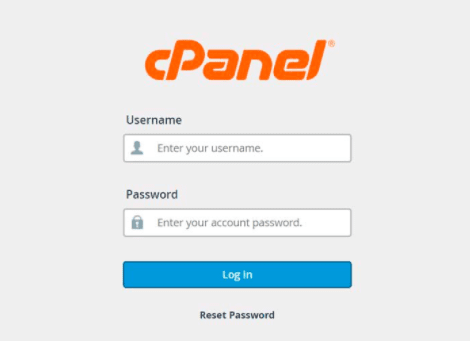
1.Log into your cPanel account, if you are new user then click on this link ” www.mydomainname.com “
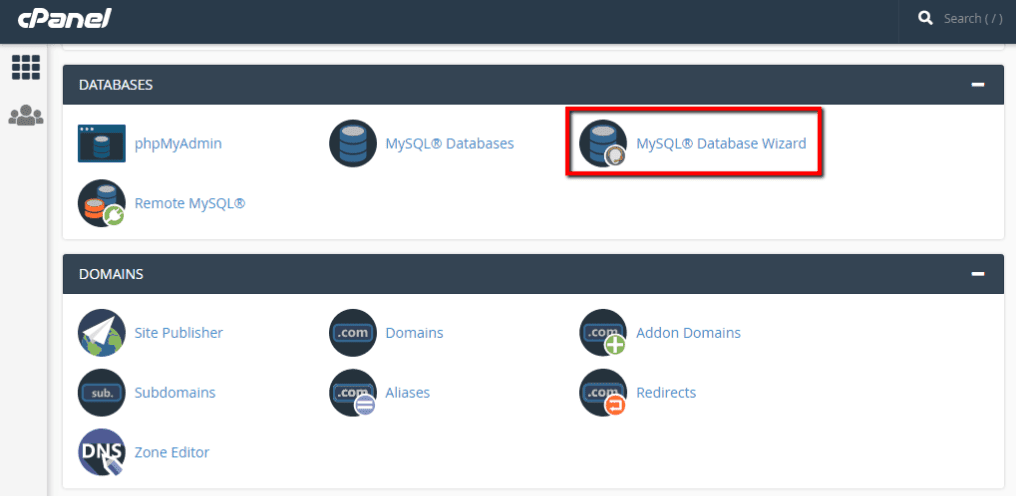
2. At the right side of the screen under the Databases section Click on the My SQL Database Wizard icon or link.
3. You will see the following screen in which you have to fill in all required information about your database. In this guide we are creating a test database named “test” and click continue.
4. Now it asks for a username and password in order to access the MySQL server from localhost, enter any name of your choice in both username and password fields and click “Go”.
5. Now it asks for database specifications. If you want to create a database and grant all privileges automatically, you can select ‘Create Database with Grant’ method and Click on the Continue button otherwise select the ‘Grant Database User Privileges Manually’ method and Click on the continue button. In this example, we select ‘Create Database with Grant’ and continue.
6. Now it asks for confirmation to create the database, click on the “Yes” button.
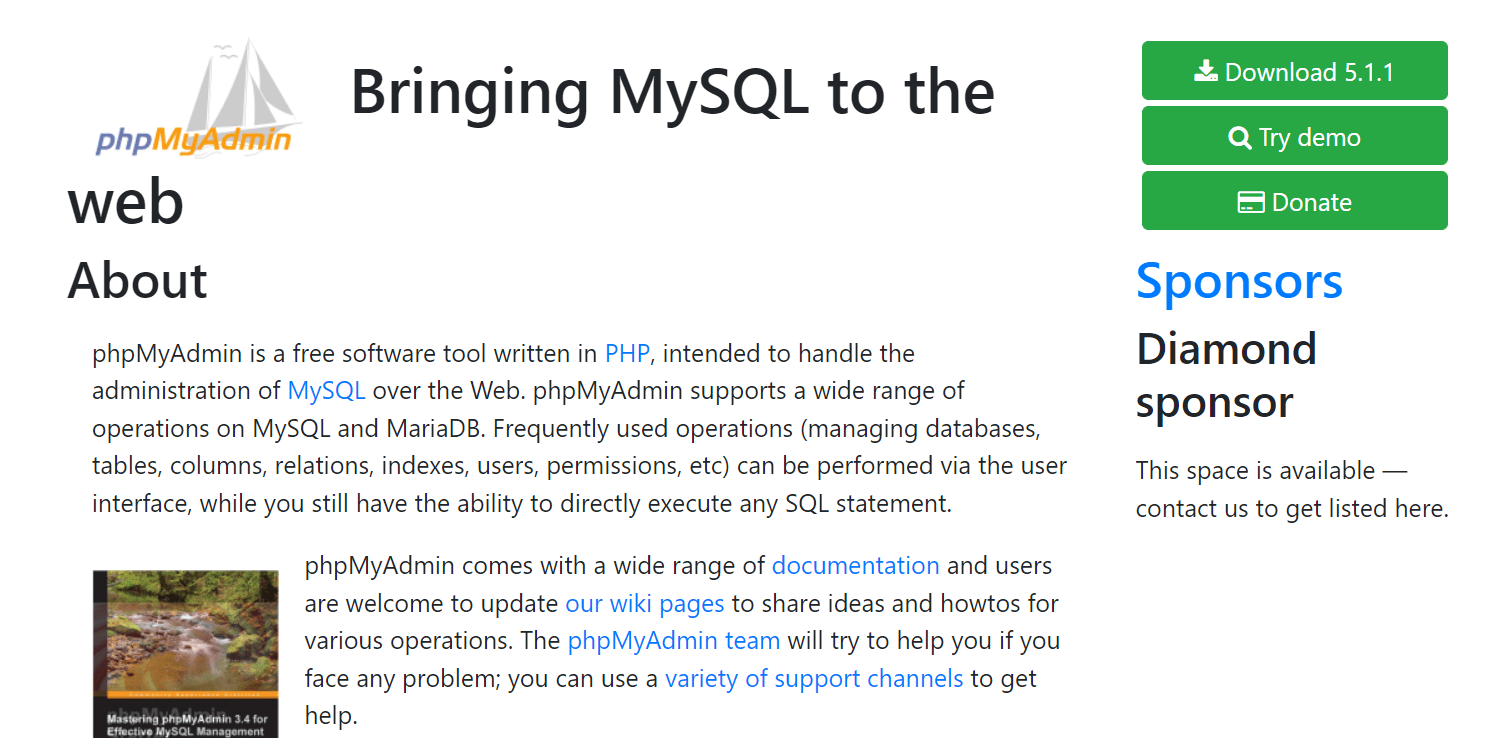
7. The final step of cPanel will display all details about your phpMyAdmin account like Domain, Username and password which you can use later to access phpMyAdmin from localhost.
8.Now you have successfully created a MySQL database with its username and password, when you need to access your database in the future just click on the MySQL Manager icon or link under the ‘Databases’ section of cPanel.
Quick Links
- How To Install XAMPP And WordPress Locally On Windows PC
- PHP Course
- How to Choose Web hosting for your site or blog?
Conclusion-How To Create Database And Database User For MySQL In cPanel 2024
Database management is an important part of any website. If you are not comfortable managing your database, let us know and we can help. We have a team of experts ready to assist with cPanel MySQL databases for your site today!
The database and user for MySQL are created in cPanel. Next, you’ll need to set the password for your new database user account by clicking on “Database” in the left-hand menu of cPanel.
You can also find this link under Advanced Settings when managing your databases directly from your hosting control panel. Once there, type in a secure password that meets all requirements (minimum 8 characters with no spaces or symbols) then click “Set Password.”
That’s it! Your MySQL installation is now ready for use and should be accessible through PHPMyAdmin just like any other web server.


