Are you struggling to set up a proxy server on FoxyProxy within your Chrome or Firefox web browser? You’re not alone, and I’m here to guide you through the process step by step.
Whether you are new to proxy servers or just finding it tricky, I’ve got you covered.
In this guide, I’ll walk you through the setup process and introduce you to the different versions of the FoxyProxy extension, ensuring you can easily navigate this process. Let’s dive in and make proxy server setup a breeze!
Table of Contents
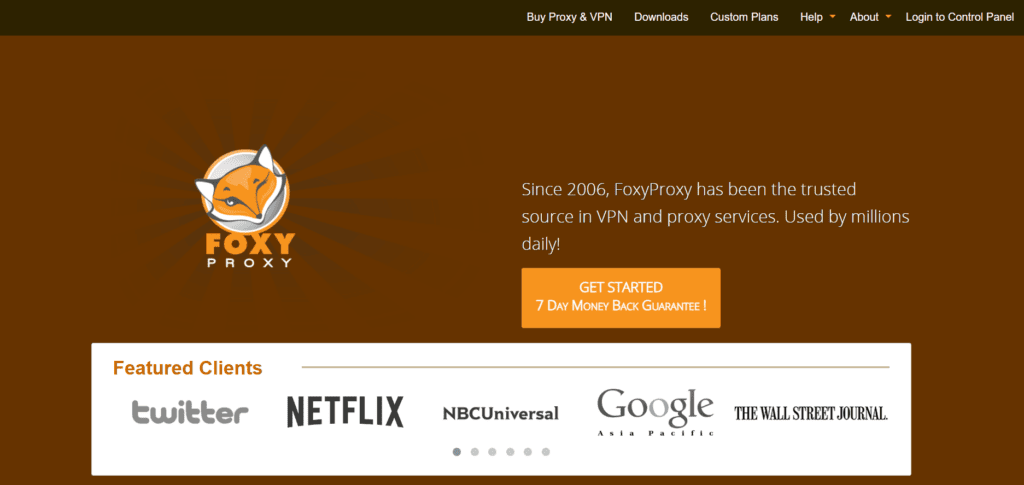
What is FoxyProxy?
FoxyProxy is a handy browser extension for Firefox, Chrome, and similar browsers like Vivaldi, Edge, and Opera. Its main job is to make dealing with proxy servers within your web browser a whole lot simpler.
With FoxyProxy, you can create multiple profiles for different proxy servers, switch between them effortlessly, and even set specific proxies for particular URLs.
While the extension is free, it’s important to note that it doesn’t include proxy servers right from the start. You’ll need to separately acquire access to a proxy server through FoxyProxy or a commercial proxy service provider.
The Basic and Standard versions of FoxyProxy
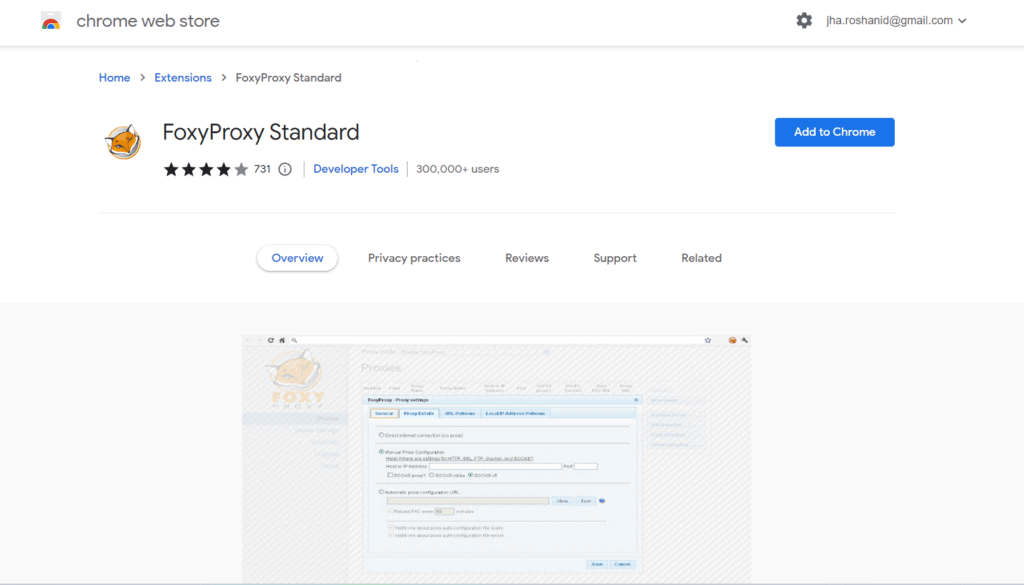
FoxyProxy extension offers two versions, Basic and Standard, both available for free download.
Both the Basic and Standard versions come with similar features:
- Proxy Profiles: You can set up different profiles for various proxy servers.
- Quick Proxy Switching: Easily switch between different proxy servers.
- Proxy Import: Import proxy settings.
The main distinction lies in including “Patterns,” a feature found in the Standard version but absent in the Basic version. Patterns allow for more precise control over the proxy server.
It lets you selectively enable proxies for specific domains through blacklisting or whitelisting, whether for a single session or permanently. Other than this, the two versions offer the same functionality.
Looking for FoxyProxy Alternatives?
Exploring alternatives to FoxyProxy opens up various options for managing proxies effectively. While FoxyProxy shines on Firefox, its compatibility and features on Chrome may not be as robust.
In fact, even the official FoxyProxy page recommends considering alternatives like SwitchyOmega, especially for Chrome users.
SwitchyOmega is a popular choice for proxy management across both browsers. It boasts a user-friendly interface and various features, making it a compelling alternative.
Its seamless integration and ease of use contribute to its popularity among users seeking an efficient proxy management tool.
On the other hand, you could opt for the direct method of setting up proxies within Chrome or Firefox without relying on extensions.
However, this approach may not be as practical or versatile as using dedicated proxy management tools. While it might suit those concerned about third-party tools or unable to install extensions, it generally falls short in convenience and flexibility.
In essence, weighing these alternatives allows you to find the best fit for your proxy management needs. While FoxyProxy remains a strong contender on Firefox, exploring options like SwitchyOmega or even direct browser setup can provide you with a customized and efficient proxy browsing experience.
Quick Links:
- How to Configure a Proxy on iPhone & iPad?
- How to Get a Sneaker Bot? All You Need to Know!
- Top 15+ Best Mobile Proxies
- All About Reddit Proxies and Where to Get Them
Conclusion: How to Use FoxyProxy on Chrome and Firefox?
To summarize, you have different options besides FoxyProxy to manage your proxies.
If you’re using Firefox, FoxyProxy is good, but for Chrome, you might prefer something like SwitchyOmega or setting up proxies directly in the browser.
If you still have questions or uncertainties, don’t hesitate to ask. We’re here to guide you in choosing what works best for you.