Search
Close this search box.

Beaver Builder Transparent Header 2024: How To Build a Custom Header With Beaver Builder?

Affiliate disclosure: In full transparency – some of the links on our website are affiliate links, if you use them to make a purchase we will earn a commission at no additional cost for you (none whatsoever!).

Transparent headers are these days trending and utilized by an ever-increasing number of websites. These sorts of headers make your page look proficient and encourage users to be on the page for a longer duration.

Above the fold, Beaver Builder Transparent Header refers to the area on the webpage which is seen by the users at first glance i.e. what the users see without scrolling the page.

Curious about Beaver Builder, don’t worry I’ve got you covered with our detailed Beaver Builder Review.

I will be answering these questions in the blog, have a look:

  • What is a page header?
  •  What is the meaning of a Transparent Header?
  • What does adding a Transparent Header to your website do?
  • What are the features of Beaver Builder?
  • How To Set Transparent Header With Beaver Builder?
  • What are the steps to make your Webpage Header Transparent?
  • Which important terms of code you must know?
  • What is the pricing of Beaver Builder?

What Is A Page Header?

A page header is referred to as the top section of any webpage present on your website. The headers are frequently misinterpreted with just the top strip which has your company/website logo and a menu bar.

But this is not the case, the page header is the entire content that a user sees as he lands on your page which is called above-the-fold content as mentioned above.

There are various features your header can have, which you can add according to your requirement.

These are:

  • Your company or website logo
  • Any type of call to action which would take the users to your landing page
  • Headline or a tagline that represents you and your brand
  • Menu bar for user-friendliness
  • A search option to navigate your website with ease.

What Does Transparent Header Mean?

Normal headers have a strip-like rectangle on the top of your webpage which divides your header content and page content in some cases from each other.
Beaver Builder Transparent Header

On the off chance that you use a transparent header, it helps merge your page content with the header as well as the top rectangular strip which might have your website logo, call to action, and menu.

Features of Beaver Builder

Several features come with Beaver Builder. Let’s discuss some of the important features.

1. Page Templates

Page templated is a type of theme that you can set for your web pages. With a beaver builder, you can have a different page template for every different web page or you can have a common one.

It is up to you. These templated are creative, unique, user-friendly, and most importantly mobile responsive.

2. Content Placement

You can resize, move, and crop pictures in the manner in which you need by just clicking. Put your call to action, appealing symbols, and headers from the simplified dashboard of the Beaver Builder theme you select.

You can likewise separate your page into segments to put more content on your page and look somewhat reduced with the goal that it has a memorable impact on clients.

3. Powerpack Beaver Builder

This is an addon you can integrate with a beaver builder and gain a huge number of integrations to improve your website performance and beautify the webpages.

Need to write your content on the WordPress interface? Don’t worry about it, with Beaver Builder you can compose your content on WordPress’s typical interface and import it all together on the beaver builder theme you decide to use for your page.

On the off chance that you choose not to utilize beaver builder any longer, you could export the beaver builder template-made pages to your ordinary WordPress page interface without loss of your content as well.

You May Also Like This:

How To Set Transparent Header With Beaver Builder?

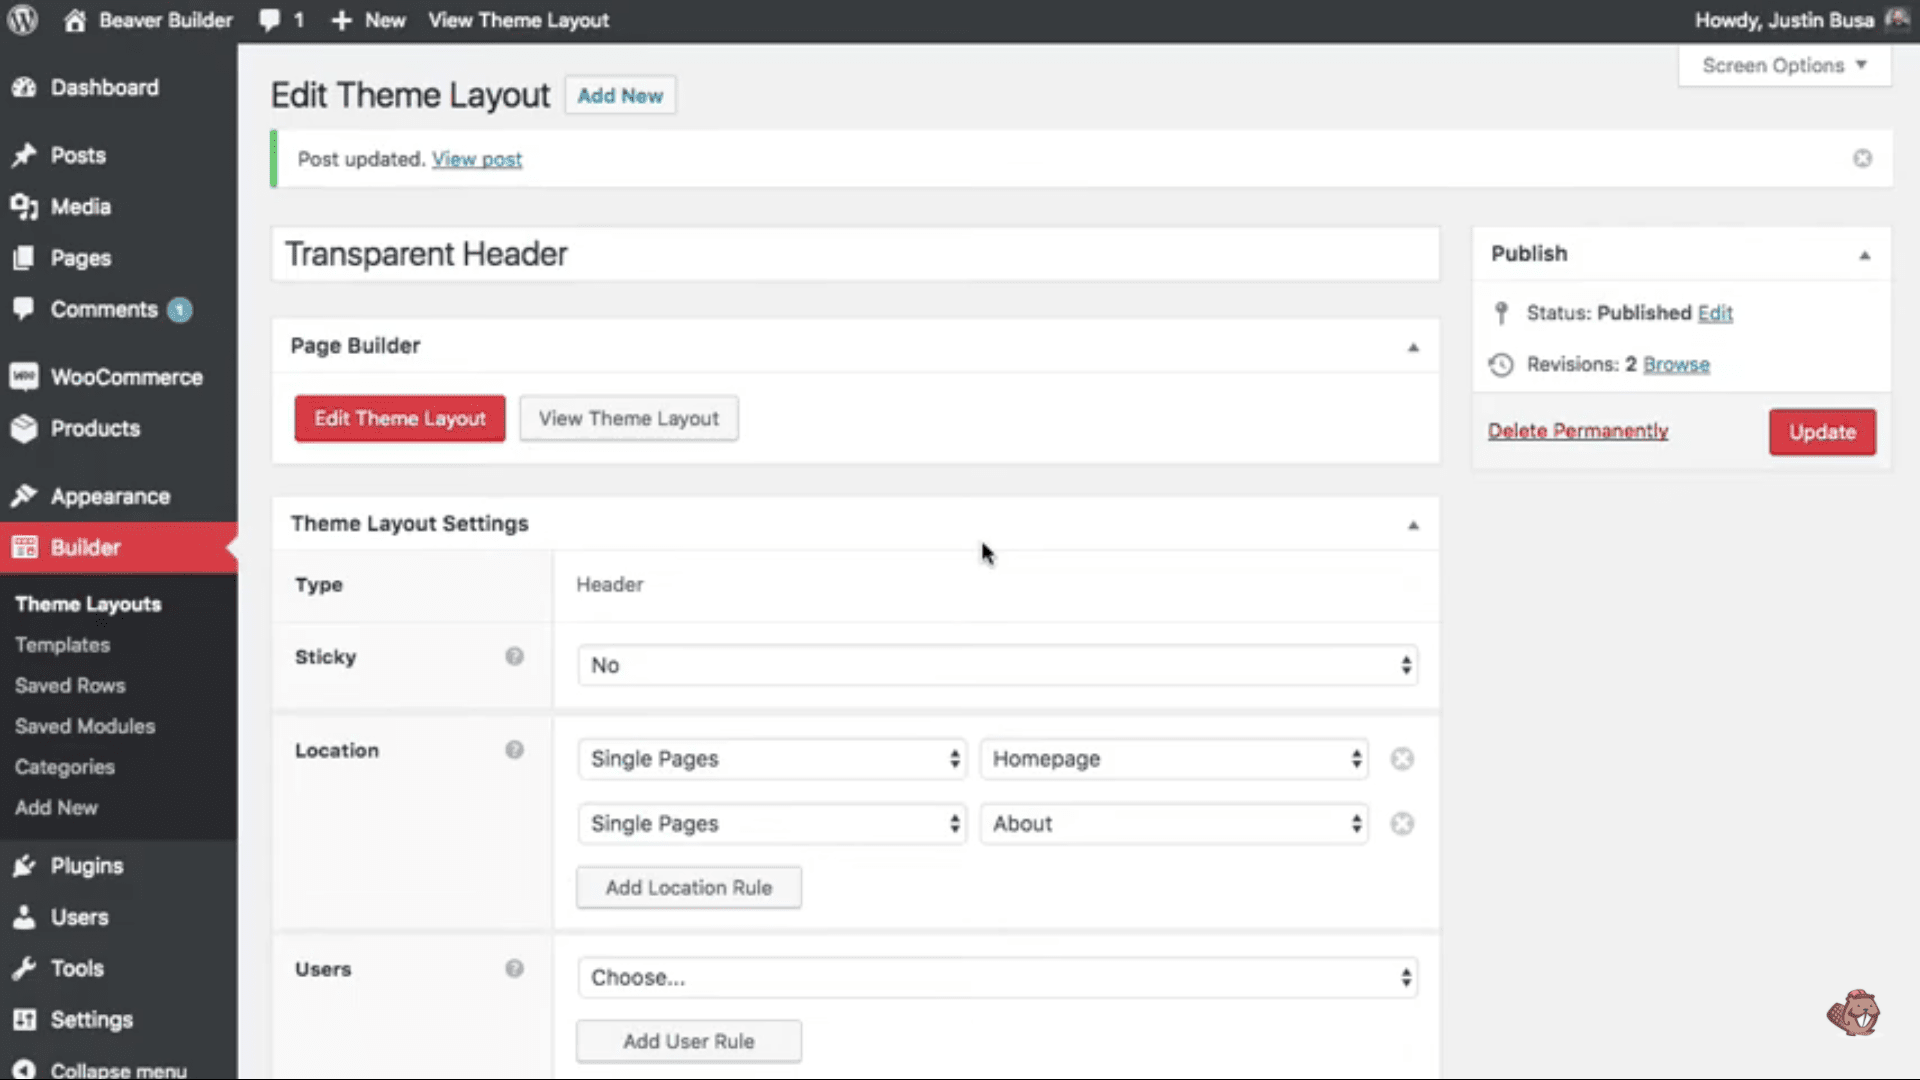
There is only one tool required to set a transparent header on any of the web pages on your website, The Beaver Themer. Let up discuss Beaver Themer in detail. 

Beaver Themer

Beaver Themer will help you make attractive and optimized web pages with just a click via its easy-to-use dashboard.

It lets have the feature wherein you can create headers and footer, the 404-error page, and along with it the pages you have archived. It also allows you to create the header and footer for each webpage, which helps the user navigate easily through your website.

Features

  • Various themes to select from

You can decide upon the theme for each and every page on your website and they all can be different too.

Making use of these themes you can create blog & landing pages as well modifies the 404-error pages so that these pages can help your users come to the website on the right page.

  • Theme Parts

These parts are a very unique feature and are rare to find in any other theme layout tool.

It helps you create partial layouts, for example, a header or a footer can be created with the help of these parts on any of your pages irrespective of the fact that the page is made with a Beaver theme or not. Isn’t that amazing!

  • Field Connections

You can integrate the Beaver theme with any of your existing pages and have the content secured while doing this process.

With other theme layout tools, there is a danger of losing content while plugging the tool into your normally made page or a page made with any other theme layout tool.

  • Post Grids

You can choose a theme that sets your blogs in grids and you can edit each grid according to your needs. It will help make your page easy to navigate and give it a wonderful look.

  • Common Content

Want a small snippet of dynamic content to be common and displayed on all the pages? If yes, the beaver theme is your solution, with the beaver theme you get altogether a different dashboard to create content to be shown on each and every page of your website.

You can choose if you want the content to be dynamic, sliding, or just keep it static. Just keep in mind to not put long content as common as it can lead to duplication of content on all your pages.

You can create the following forms of content- text, images, links, and custom fields, once created link them to all the pages you want that content to be shown.

Steps To Make Your Webpage Header Transparent

Here are some key steps to follow:

Stage 1: Download Beaver and begin making a page for your site utilizing Beaver Builder

The first and foremost thing to be done is the production of the page through Beaver Builder.

beaver builder header

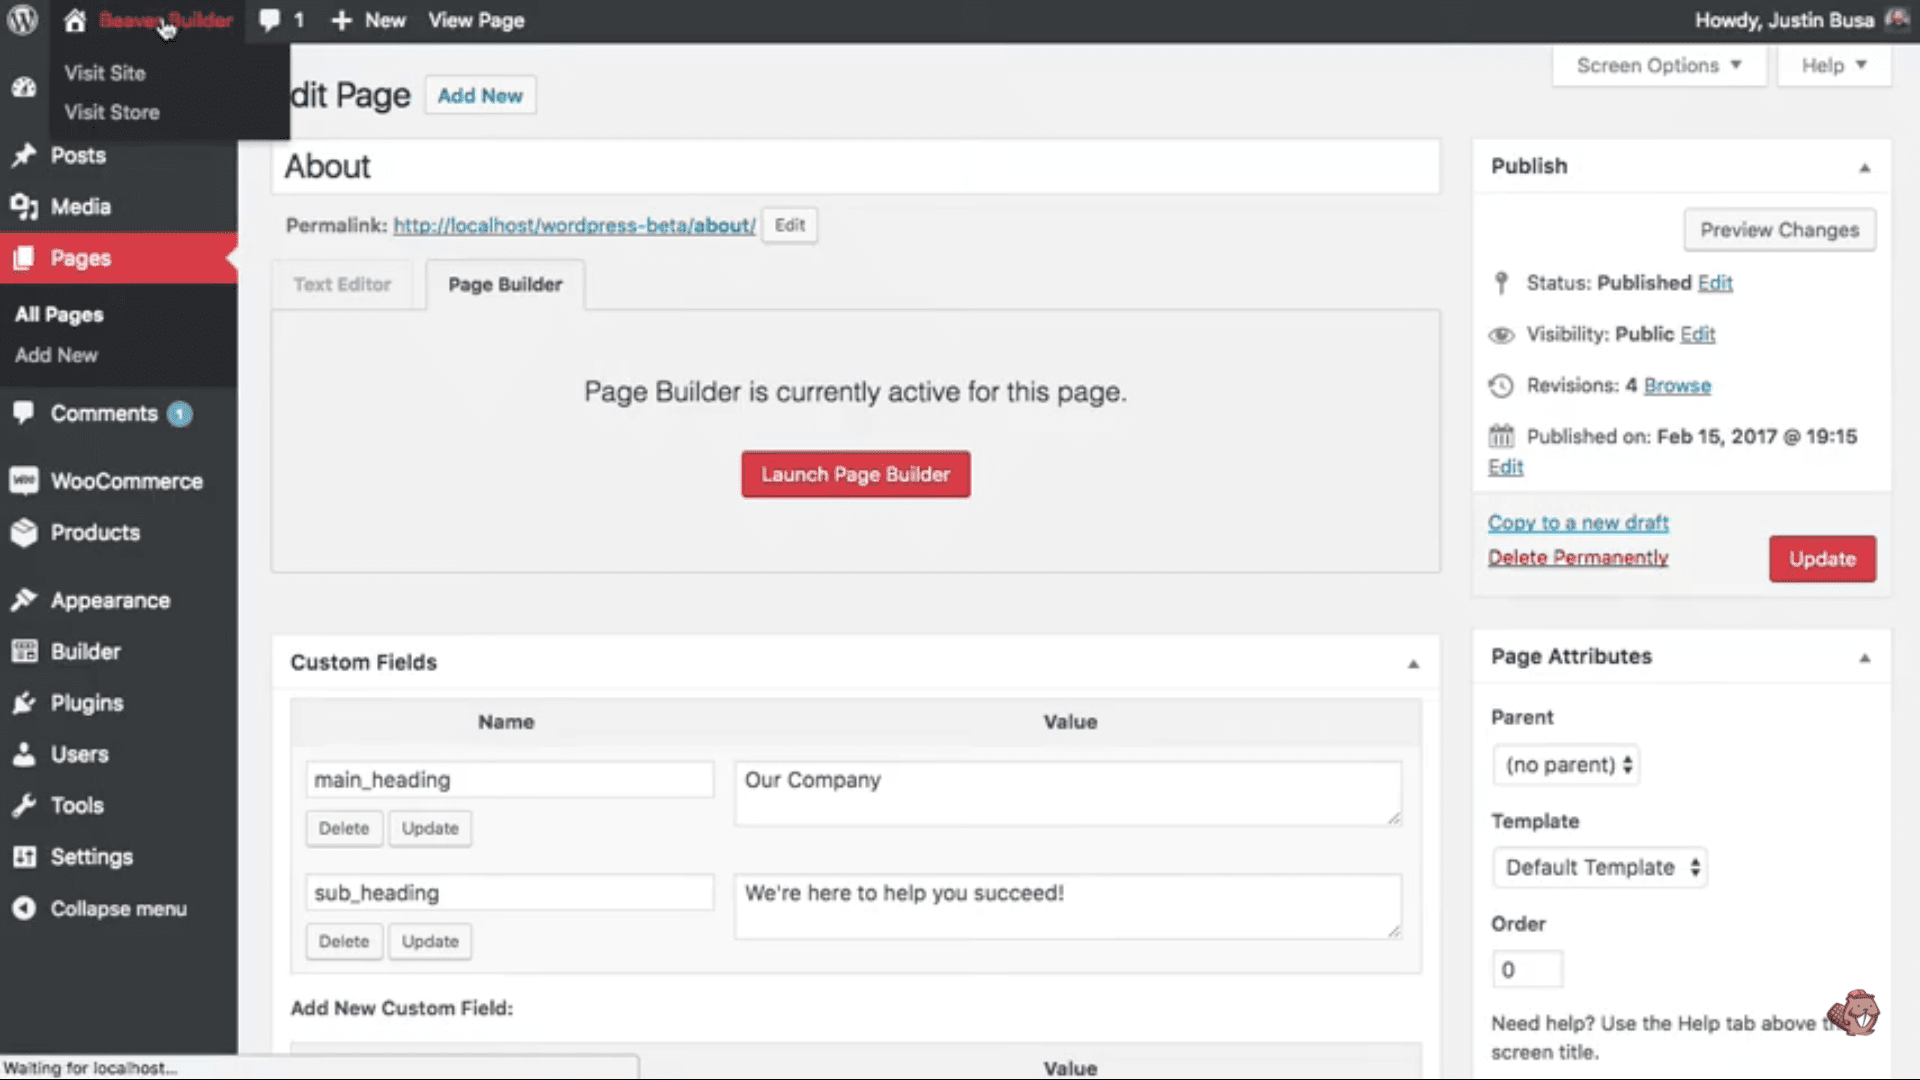
In WordPress after introducing the beaver manufacturer module, rather than making a page through WordPress simply open the page add a title to the page using WordPress, and afterward click on alter with beaver developer and start your work.

Step 2: Content addition

After creating a basic page layout, decide on the content you want to add on the top of the page i.e. above the fold content, which could be a heading followed by some sentence, a heading, a subheading, or any call to action, or just a logo and an image.

beaver builder header

Now, create a row with the help of a beaver builder and add your planned content to the row. Below the row add the background image you want for the transparent header to appear on top of it.

Step 3: Class Addition

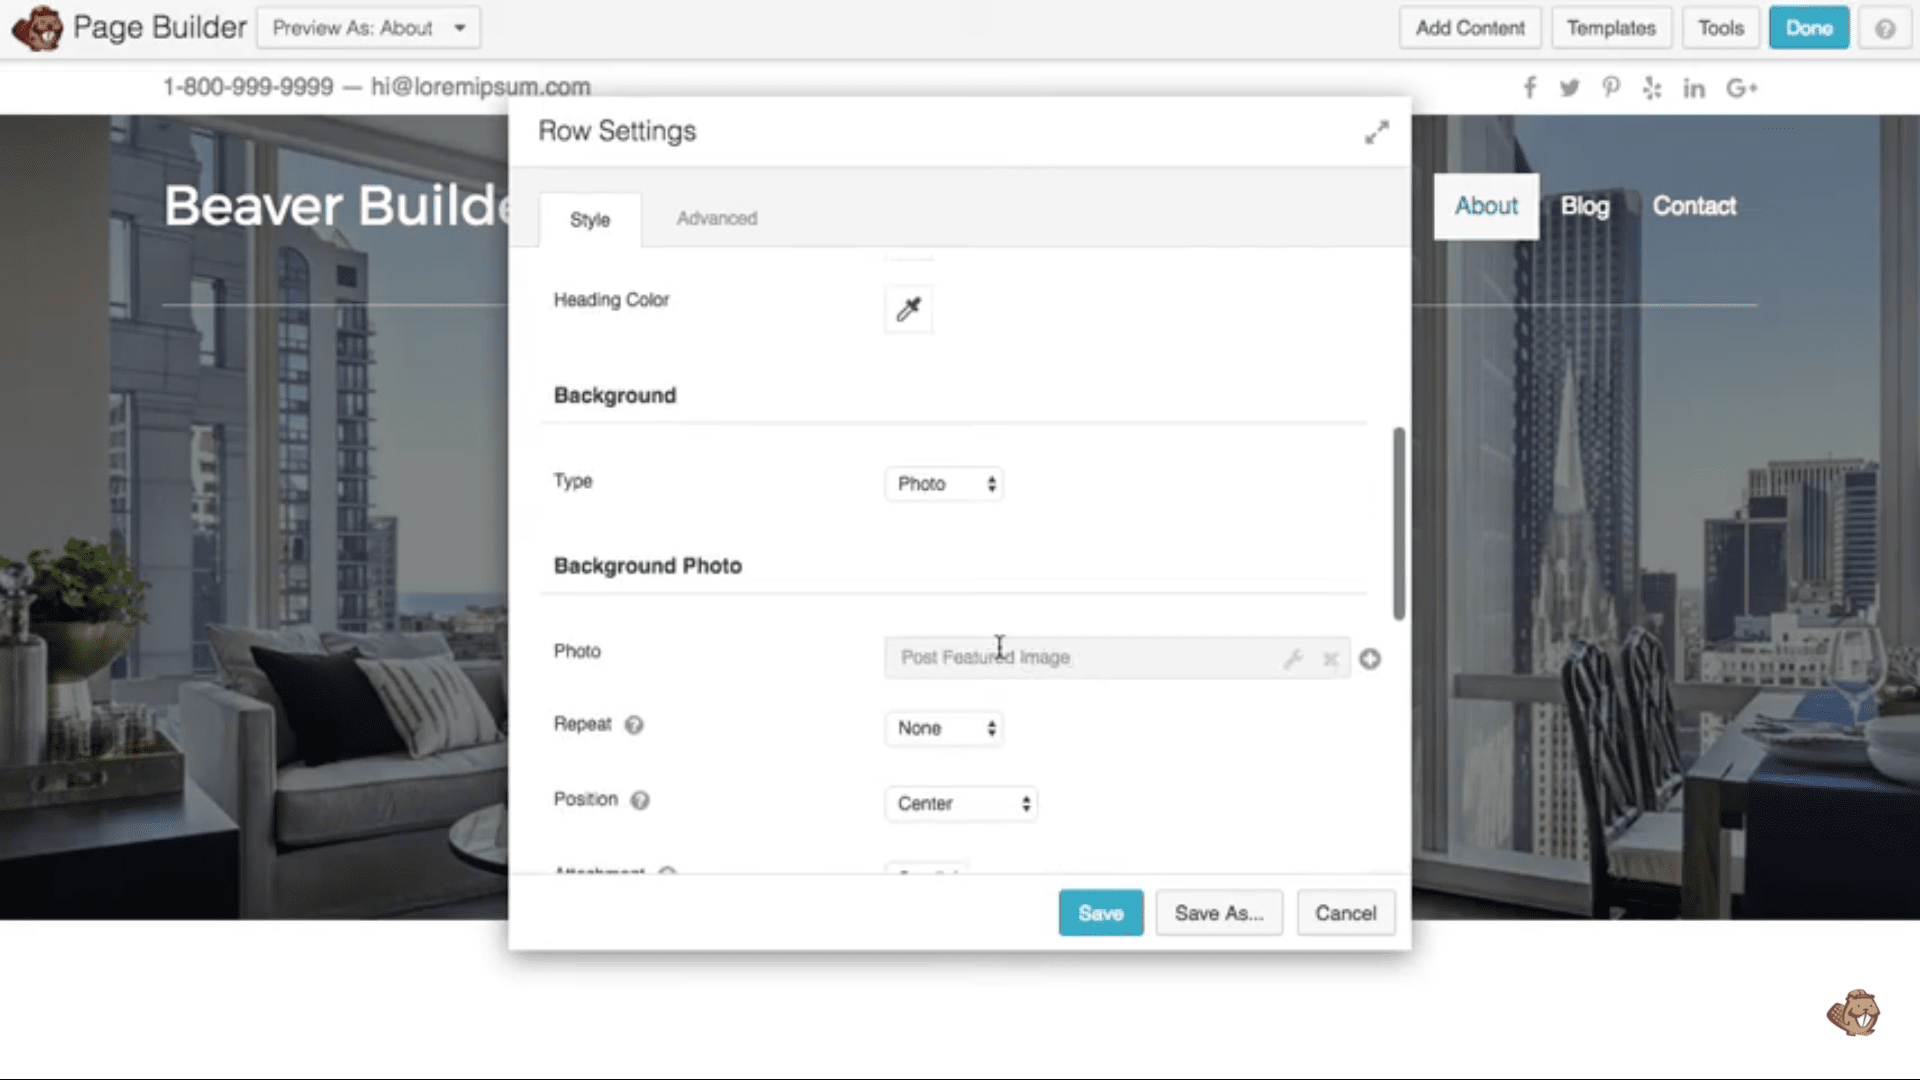
You need to go to the spanner button on the top row for class addition. Then add a CSS class by going into the Advanced option. Do not forget to click the Save button.

Step 4: Making the header transparent

So now, we’re planning to move the Top Banner column under the header. Above all, we have to make the header straightforward.

We do this now with the goal that we can see where the head of the Top Banner column closes when we are utilizing CSS to situate it under the site header.

Build a Custom Header with Beaver Builder

Add your CSS file in style.css or directly plug it into the Beaver builder.

Some important terms of the code you must know:

  • Body. fl-page-header-primary:

The above CSS snippet is the one that is used by a beaver builder for encoding the header on top of the page on your website.

We add the body of the page in front to increase the specificity of the page. Another reason to target the above snippet of code is to create a duplicate of the primary code used by the beaver builder for the header and then do the modification.

This saves your header from being permanently destroyed in case something goes wrong with the code.

  • Background: transparent:

This CSS snippet is used to remove the background which is set by default when you start using a Beaver builder if your page is not made via Beaver builder, you can still make the header transparent by exporting the CSS file into the advanced option given to you at the top row.

But the background color has to be removed in any of the cases via the above CSS snippet.

  • Position: relative and z-index:10:

To ensure the alignment of our transparent header i.e. top banner with the existing fixed and with the background header, use the mentioned CSS snippet.

Step 5: Alignment of top banner row

Another CSS code needs to be added to the same place where you have added the above CSS snippets.

Important CSS terms you would come across in the code:

@media screen and (min-width 660px): The use of this code is just aligning the top banner with the existing header. The px value mentioned, which is 660 in this case is very important. The value could come along with the code by default or you might have to add it manually.

The default or average px value which you will have to set might be in the range of 990-995px depending on your system configuration.

.top-banner .fl-row-content-wrap: This snippet of CSS helps you to adjust padding according to your requirements.

margin-top:-100px: This snippet helps you adjust the margin of the header on all four sides according to your requirements.

Step 6:

Customize and beautify the transparent header to set your logo and menu in a way that looks good and blends with the transparency of the header.

Making the header transparent globally

With Beaver Builder, you have the feature of saving the created top banner and using it on other web pages of your website.

Frequent Problems Incurred When Making The Header Transparent

  1. The header can only be seen on desktops but not on mobiles and tablets.

This issue is easily solvable. You just need to visit Appearance > Customize > General > Background and you should set the color such that it contrasts with your header so that it stands out and is readable.

  1. The top bar of the header is not visible.

The problems here are with the CSS snippet of the code you have copied and pasted or either written yourself which includes the body. fl-page-bar.

Pricing of Beaver Builder

For adding a transparent header, you require a beaver theme which comes with the paid version of the beaver builder pack.
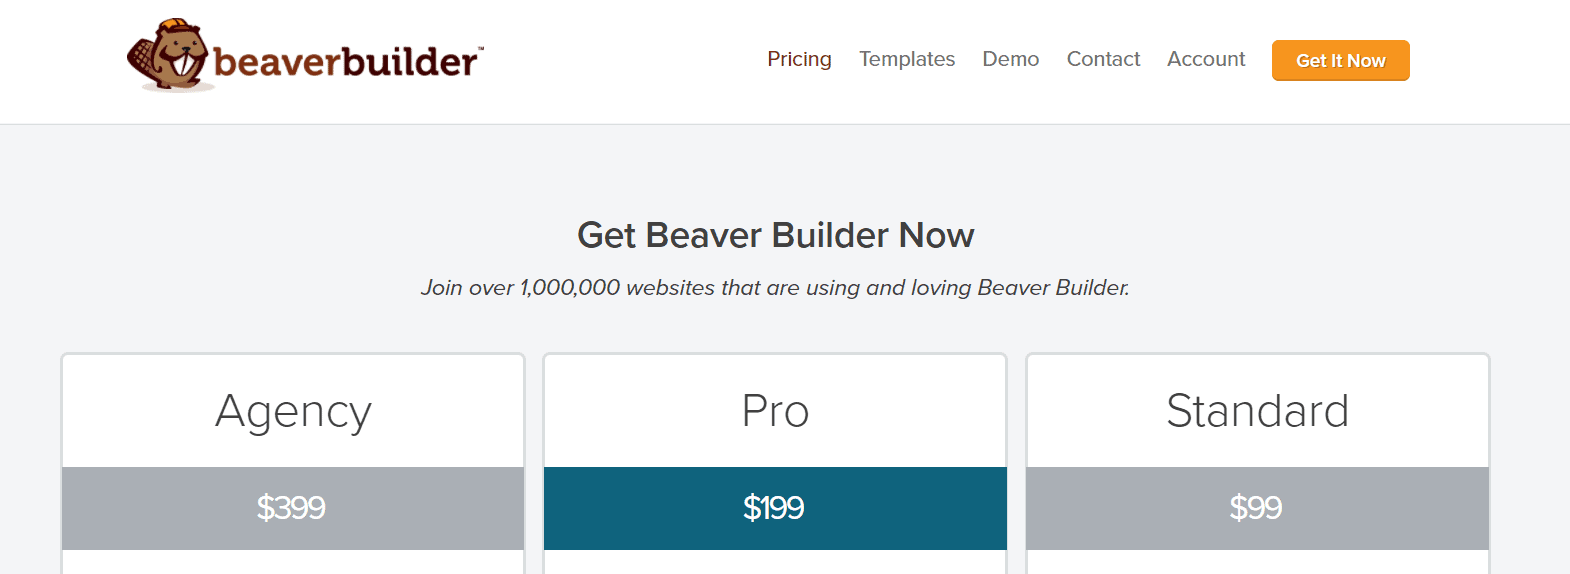
beaver builder pricing

You will have to pay $149 for one year of Beaver Builder service which will include Beaver themes that will help you add transparent headers easily to your website.

Pros & Cons Of Beaver Builder Transparent Header

Pros

  • If you want a visually appealing page, then Beaver theme is a must-have theme
  • You can change the layout for every device separately i.e. mobiles, tablets, and desktops. You can also create it all together with a different landing page or a normal page for all three devices.

Cons

  • The only negative thing about the Beaver theme is that the price for paid plans is a bit high. But looking at the features it provides it is definitely worth it.

Beaver Builder Customer Reviews

Beaver Builder review by User

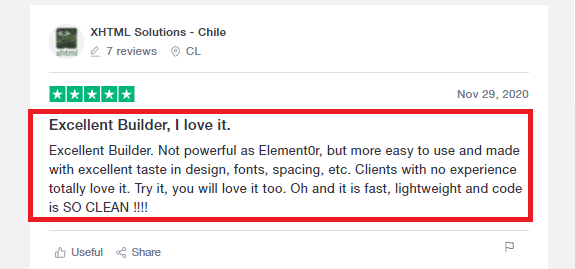
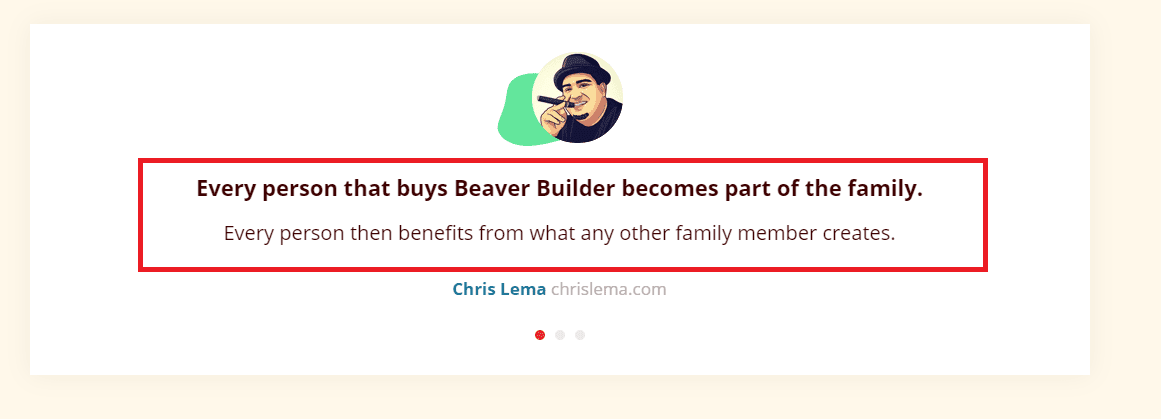
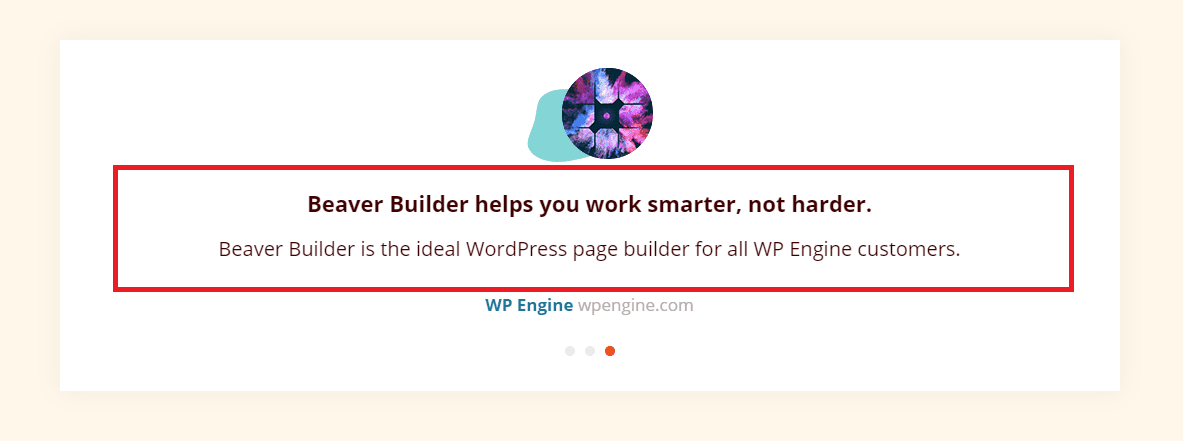
Beaver Builder User Review Beaver Builder Testimonial

Quick Links:

FAQs | Beaver Builder Transparent Header

Where do I get the CSS code?

You can contact beaver builder customer support, and they will tend to your query quickly and give you the solution, or you can use platforms like git hub and copy the code from those platforms directly as these are free to use.

What is the transparent header in WP?

In WordPress, a transparent header has the background color opacity set to 0, making it see-through. This effect may offer your website a contemporary and minimalist appearance while still allowing the content to be seen through the header.

How can I customize the design of my transparent header?

You may change the style choices in your page builder to personalize the look of your translucent header. In the header module settings of Beaver Builder, for example, you may alter the font, font size, font color, and text alignment. You may also add additional header components or modules, such as a logo or a navigation menu, and change their stylistic parameters. You may also use custom CSS to further personalize the look of your translucent header.

How to Get Started with the Beaver Builder?

The content section of WordPress is distinct from the header, footer, and sidebar. The Beaver Builder plugin enables the creation of layouts according to the content area. Additionally, you may use the Beaver Themer plugin to build layouts in places beyond the content area.

How do I enable a transparent header?

Navigate to Appearance > Customize > Header to activate the Transparent Header option. The option to 'Show Transparent Header on the Homepage Only' will become available after this is done. If you turn it off, the header will become translucent on every page.

How do I make a header transparent in Beaver Builder?

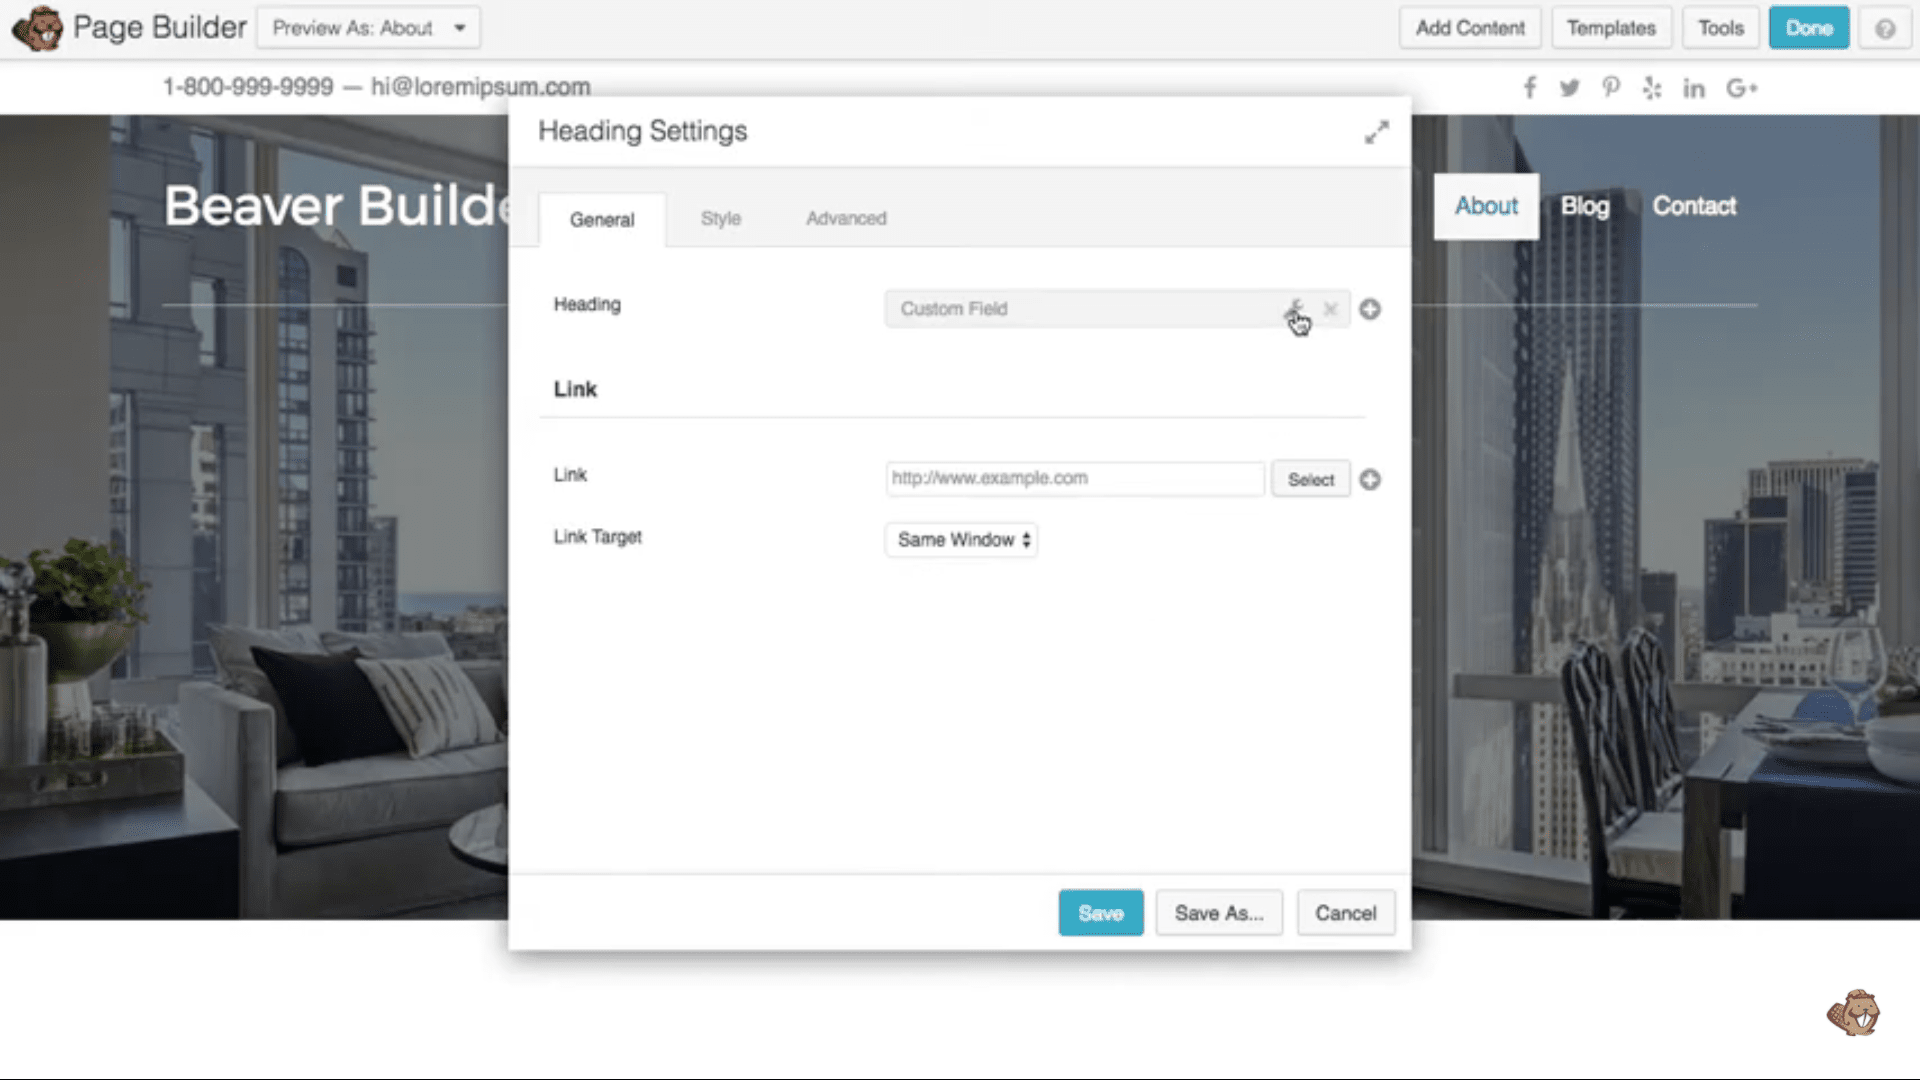
To make a header transparent in Beaver Builder, you can follow these steps: Open the Beaver Builder Editor and click on the header module that you want to edit. In the module settings, navigate to the Style tab. Under the Background section, click on the color picker tool next to the Background Color option. In the color picker, slide the opacity bar to the left until the opacity is set to 0. This will make the header transparent. Save the changes and publish the page to see the transparent header.

How do I change the header in Beaver Builder?

To change the header in Beaver Builder, you can follow these steps: Open the Beaver Builder Editor and navigate to the page where you want to change the header. Click on the header module that you want to edit. In the module settings, you can make changes to the layout, style, and content of the header. To add new elements or modules to the header, you can use the drag-and-drop interface in Beaver Builder. Once you have made the desired changes, save and publish the page to see the updated header.

Conclusion: Build a Custom Header with Beaver Builder 2024

Transparent headers are a very important feature to have on a website if you want them to be appealing, stylish, and modern.

It even helps your call to action on the top banner or above-the-fold content to stand out. With a beaver builder, it is easy to create a transparent header.

The above steps might be confusing or seem tough, but the only thing you need to do is to copy-paste the code into a space and see the changes and make it global if you want.

Jitendra

Jitendra Vaswani is the founder of SchemaNinja WordPress Plugin, prior to SchemaNinja he is the founder of many internet marketing blogs BloggersIdeas.com, and Digiexe.com. He is a successful online marketer & award-winning digital marketing consultant. He has been featured on HuffingtonPost, BusinessWorld, YourStory, Payoneer, Lifehacker & other leading publications as a successful blogger & digital marketer. Jitendra Vaswani is also a frequent speaker & having 8+ yrs experience of in the Digital Marketing field. Check out his portfolio( jitendra.co). Find him on Twitter, & Facebook.

Leave a Comment

0 Shares
Tweet
Share
Share
Pin